You've mopped the kitchen twice this week, but your socks still catch on a sticky track by the stove. The tile edges look gray no matter how hard you scrub, and the carpet in the hallway looks fine until sunlight shows a darker path from the front door to the living room. That's the point where routine mopping stops solving the problem. You don't need a stronger chemical dumped on the same route. You need a reset that matches the floor, the soil, and the amount of water the surface can handle.
Table of Contents
- [Why Floors Need More Than Everyday Mopping](#why-floors-need-more-than-everyday-mopping)
- [Decide the Method Before You Mix Anything](#decide-the-method-before-you-mix-anything)
- [Prepare the Room and Your Tools](#prepare-the-room-and-your-tools)
- [Use a Surface-Safe Deep-Cleaning Method](#use-a-surface-safe-deep-cleaning-method)
- [Five Steps That Keep Soil Moving Off the Floor](#five-steps-that-keep-soil-moving-off-the-floor)
- [Clean Tile Wood Laminate and Carpet Differently](#clean-tile-wood-laminate-and-carpet-differently)
- [Tile Needs Edge and Grout Attention](#tile-needs-edge-and-grout-attention)
- [Wood Needs Grit Removal and Minimal Moisture](#wood-needs-grit-removal-and-minimal-moisture)
- [Laminate Needs Seam Protection](#laminate-needs-seam-protection)
- [Carpet Needs Dry Soil Removal Before Spot Work](#carpet-needs-dry-soil-removal-before-spot-work)
- [Remove Stains Without Spreading the Damage](#remove-stains-without-spreading-the-damage)
- [Use a Repeatable Stain Decision Process](#use-a-repeatable-stain-decision-process)
- [Prevent Residue and Disinfect Only When Needed](#prevent-residue-and-disinfect-only-when-needed)
- [If You Disinfect, the Label Controls the Job](#if-you-disinfect-the-label-controls-the-job)
- [Troubleshoot Common Floor-Cleaning Problems](#troubleshoot-common-floor-cleaning-problems)
- [Match the Symptom to the Likely Cause](#match-the-symptom-to-the-likely-cause)
- [Build a Repeatable Floor-Care Routine](#build-a-repeatable-floor-care-routine)
- [Room by Room Checklist](#room-by-room-checklist)
<a id="why-floors-need-more-than-everyday-mopping"></a>
Why Floors Need More Than Everyday Mopping
Everyday mopping mostly moves across the open middle of a room. It picks up fresh crumbs and light dust, but it often misses edges, grout lines, corners, and traffic lanes where grit collects. Over time, detergent film, cooking residue, and tracked in soil layer on top of each other. The floor can look acceptable from standing height while still feeling tacky underfoot.
Deep cleaning floors is different because it's built around removal, not redistribution. You're pulling out accumulated dust, lifting embedded residue, and checking the surface after it dries. That work matters more than most homeowners expect. Floor dust is a measurable reservoir, not just a cosmetic issue.
An EPA technical report summarized residential studies in which 29 homes in two Seattle area locations averaged 19 grams per square meter of removable floor dust, with an average accumulation rate of 1.6 grams per square meter per day, while a separate study of 12 residences averaged approximately 1.2 grams per square meter, as detailed in the EPA report on contaminants in indoor environments. The same source linked much of that buildup to track in from shoes and outdoor sources, because airborne deposition alone couldn't explain the quantity found. That's why entryways, kitchen work zones, and hallways age faster than low traffic corners.
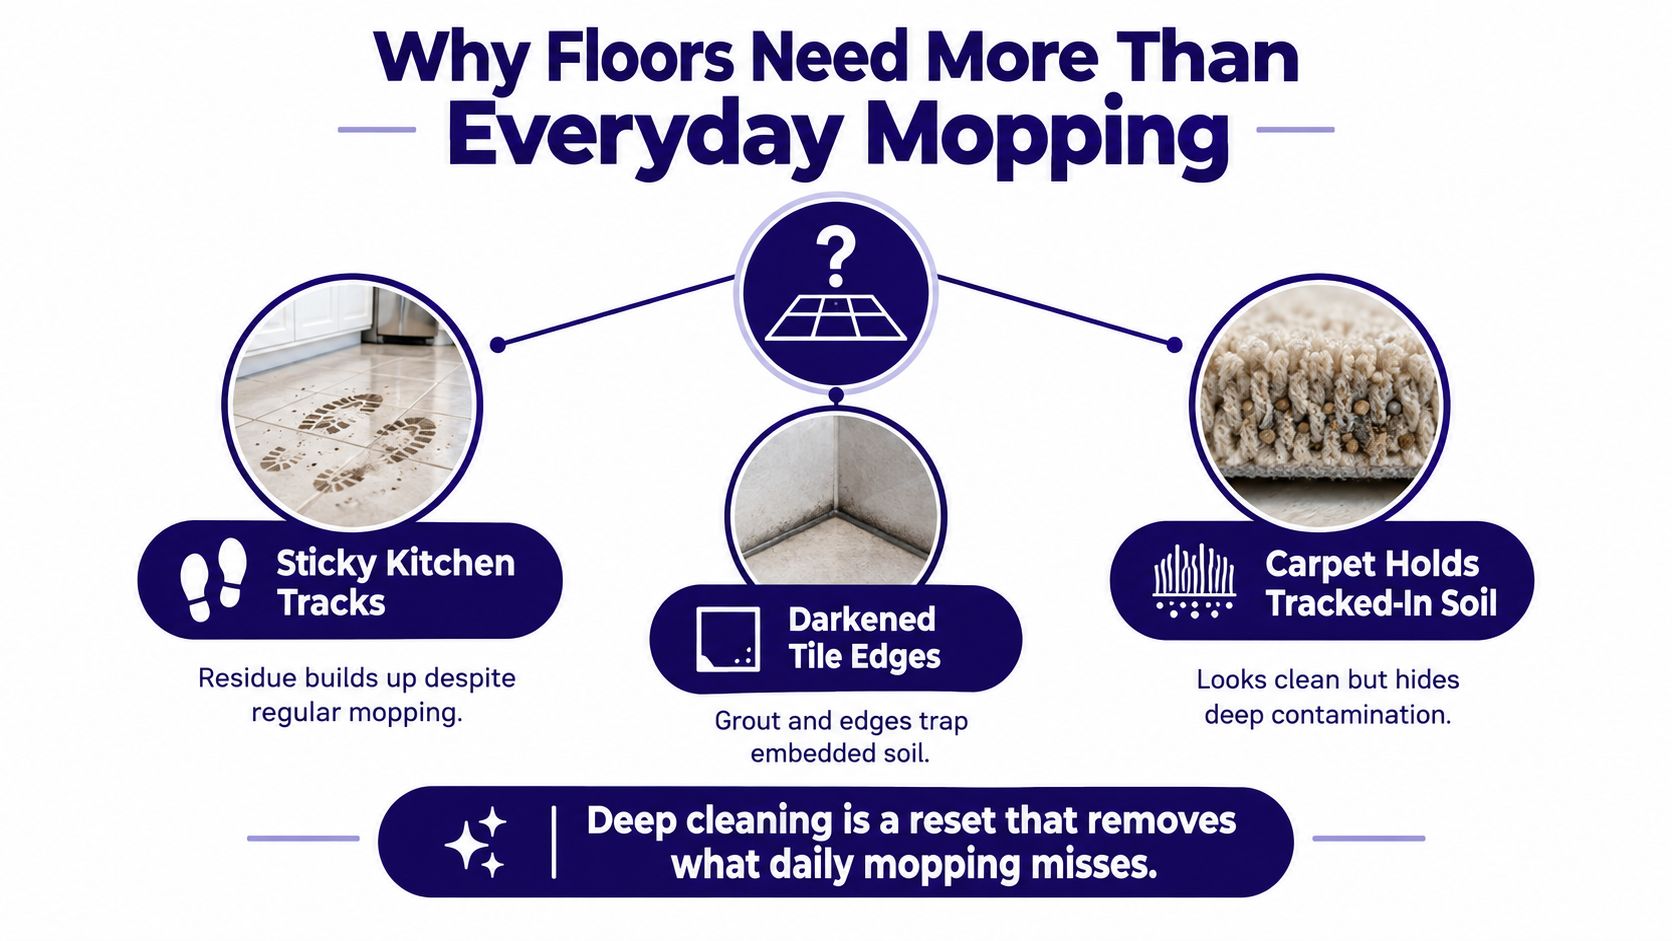
Floor covering changes the scale of the problem. The EPA report also noted that in three homes, dust recovered from rugs was 15 to 140 times greater than dust collected from bare floors in the same homes. Carpet fibers hide soil below the surface, while hard floors show film and edge buildup sooner. Both need a reset, but they don't need the same method.
For homes with young children, older flooring, or possible lead exposure, thoroughness carries extra weight. EPA data reported that 13% of U.S. children ages 0 to 5 lived in homes with an interior lead dust hazard in 2005 to 2006, down from 16% in 1998 to 1999, and cited a federal floor dust lead standard of 40 micrograms per square foot. Most households aren't dealing with that specific hazard, but the principle still applies. What settles on floors doesn't stay harmless just because it's hard to see.
<a id="decide-the-method-before-you-mix-anything"></a>
Decide the Method Before You Mix Anything
Start by identifying what you are cleaning. Solid wood, engineered wood, laminate, vinyl, ceramic tile, porcelain, natural stone, and carpet all tolerate moisture and agitation differently. A finish matters too. A sealed surface and a worn finish will not respond the same way to the same cleaner.
Check the manufacturer's care sheet if you have it. If you don't, test any product in an inconspicuous spot, such as under a sofa or inside a closet, and wait for it to dry. Look for color change, dullness, tackiness, or softening before you commit to the whole room.
Practical rule: Identify the material first, assess the soil second, and choose water, product, and pressure last.
<a id="prepare-the-room-and-your-tools"></a>
Prepare the Room and Your Tools
Move lightweight furniture out or to one side, and protect adjacent surfaces that shouldn't get splashed. Pick up rugs, cords, and loose items so you can reach edges without stopping every few feet. Work out your exit path now, not after the floor is wet.
- Vacuum with the right floor setting: Use a hard floor head or brush roll off setting where appropriate, so grit is removed instead of scattered.
- Microfiber mop heads and clean cloths: Bring several, because a dirty pad spreads soil faster than it removes it.
- Soft brush or approved pad: Keep this for grout, texture, and traffic lanes, not for aggressive scrubbing everywhere.
- Two buckets where wet cleaning is allowed: Use one for solution and one for rinse water, so dirty water doesn't go back on the floor.
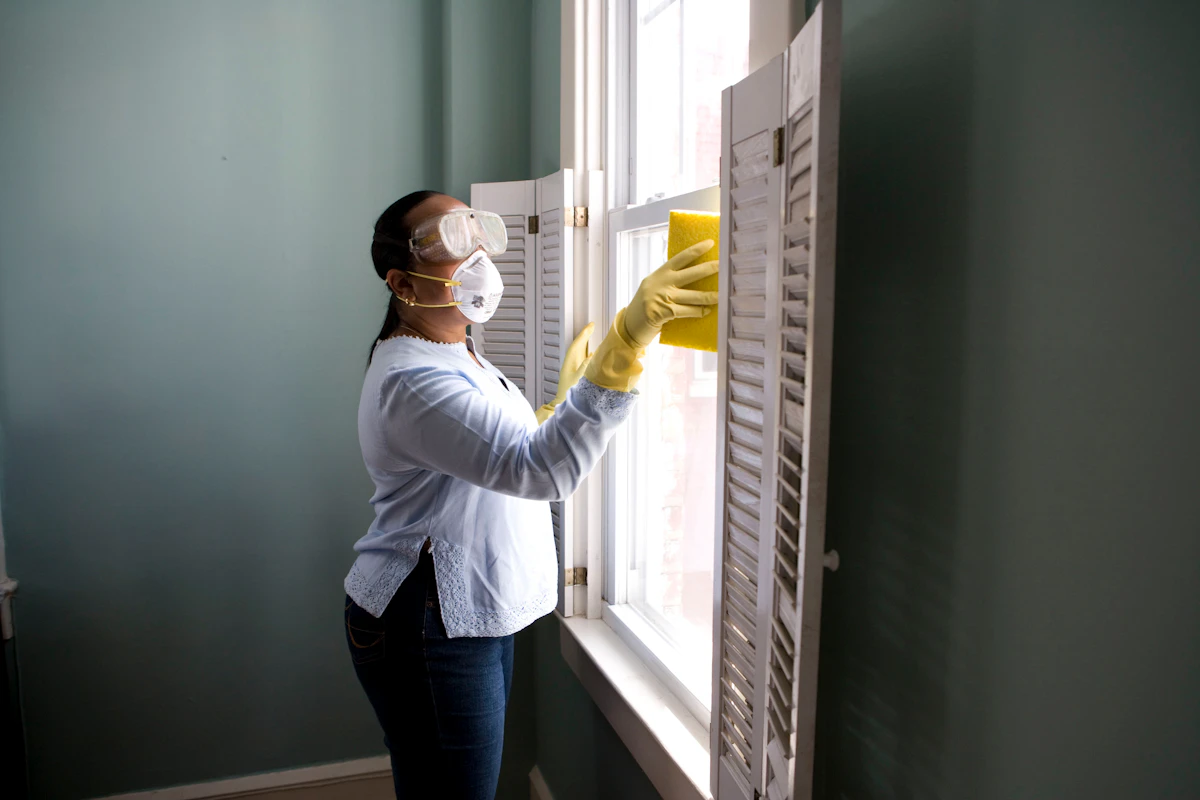
- Gloves and ventilation: Protect your hands and open a window or run a fan to help drying.
Dry removal always comes before damp cleaning. Loose grit acts like sandpaper under a mop, and it turns cleaning solution muddy within minutes. Vacuum or dry dust first, then decide how much moisture the floor can safely take. Excess water is a real risk near seams, in porous materials, and around aging finishes.
Plan to work from the cleanest area toward the dirtiest, usually from the far corner toward the entry or kitchen sink zone. That direction keeps you from dragging heavy soil across sections you've already finished. If the buildup is beyond a careful home reset, a scoped professional deep cleaning service follows the same logic, thorough vacuuming, sweeping, and mopping matched to the surface.
<a id="use-a-surface-safe-deep-cleaning-method"></a>
Use a Surface-Safe Deep-Cleaning Method
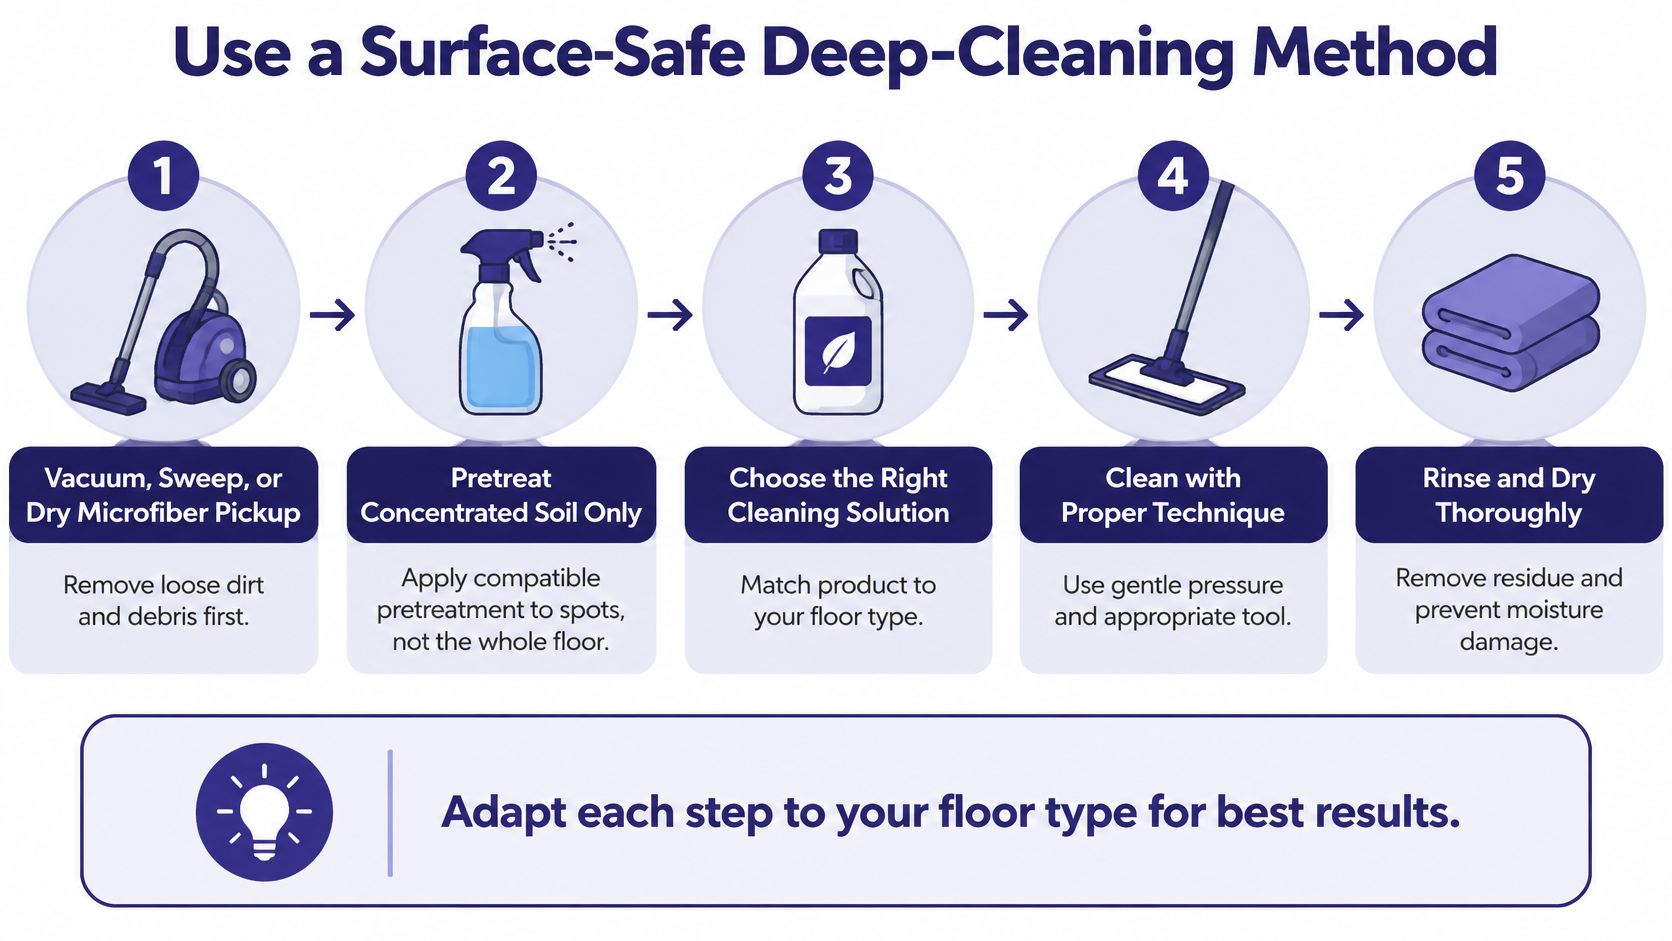
A reliable sequence works across most homes because the order protects the floor. You remove dry soil, loosen what's stuck, lift dirty solution off the surface, and let everything dry. Skipping steps is where streaks, residue, and damage start.
The visual below outlines the core sequence before you adapt it by material.
<a id="five-steps-that-keep-soil-moving-off-the-floor"></a>
Five Steps That Keep Soil Moving Off the Floor
1. Vacuum, sweep, or dry microfiber first: Remove grit from edges and under toe kicks, not just the open center.
2. Pretreat only concentrated soil: Apply a material compatible cleaner to sticky spots or dark traffic lanes, and give it brief dwell time without letting it dry.
3. Damp clean in manageable sections: Use enough solution to suspend soil, but don't flood seams or saturate porous surfaces.
4. Agitate where soil is trapped: Use a soft brush on grout and texture, and light pressure on smooth finishes.
5. Pick up dirty solution and rinse if needed: Mop or extract the dirty liquid, then use clean water when the label requires it or the floor feels filmy.
Tool choice changes results. In a microbiologic floor study, a microfiber system used with detergent removed approximately 95% of measured microbial contamination, compared with 68% for a conventional cotton string mop, according to the microbiologic evaluation of microfiber mops. Changing microfiber cloths between rooms also reduces transfer from a bathroom or entryway into a bedroom.
That doesn't mean microfiber fixes a bad process. If you keep using one gray pad for the whole house, you're repainting the floor with diluted dirt. Swap pads when they're visibly soiled, when the rinse water turns cloudy, or when you move between rooms with different soil types.
The short demonstration below is useful for checking mop pressure, section size, and how little standing water should remain behind the pad.
<iframe width="100%" style="aspect-ratio: 16 / 9;" src="https://www.youtube.com/embed/S2vHa7eE_34" frameborder="0" allow="autoplay; encrypted-media" allowfullscreen></iframe>
Finish with ventilation and complete drying before furniture returns. Trapped moisture under a rug or chair leg can spot a finish and slow drying in carpet backing. Walk the room in socks once it's dry. If your socks drag, stick, or pick up gray residue, the floor needs a rinse pass, not more cleaner. Choosing compatible products matters as much as technique, which is why a clear inventory of house cleaning supplies matched to each surface helps prevent the common mistake of using one bottle everywhere.
<a id="clean-tile-wood-laminate-and-carpet-differently"></a>
Clean Tile Wood Laminate and Carpet Differently
Tile tolerates controlled wet cleaning that would damage laminate seams. Carpet hides dry soil that a damp mop can't reach. Treating every floor with the same bucket and brush is convenient, but it's also how finishes dull and edges swell.
Floor cleaning decisions by material
| Floor type | Main risk | Best cleaning approach | Verify after drying |
|---|---|---|---|
| Tile and grout | Soil trapped in texture and grout lines | Vacuum, damp clean, soft brush on grout, controlled rinse | No film, grout color even, no gritty edges |
| Wood | Excess moisture and finish damage | Vacuum grit, barely damp microfiber, prompt drying | No tackiness, no dull patches, no raised grain feel |
| Laminate | Water entering seams | Dry pickup first, minimal liquid, test hidden area | Seams flat, no beading trapped at joints, no haze |
| Carpet | Embedded grit and slow drying after over wetting | Thorough vacuuming, targeted spot treatment, limited moisture | Fibers dry, no damp odor, stain not spreading |
Recent manufacturer guidance supports this material first approach, recommending loose grit removal with microfiber or suitable vacuuming, a pH neutral solution, work in manageable sections, changing dirty pads, and removing slurry with clean water, while warning that chemicals left behind can soften materials, create film, and increase scuffing in the nora cleaning recommendation for norament flooring. You don't need that exact flooring for the lesson to apply. Residue is a cleaning failure, even when it shines while wet.
<a id="tile-needs-edge-and-grout-attention"></a>
Tile Needs Edge and Grout Attention
Vacuum first, including along baseboards where grit collects. Damp clean the tile face, then use a soft brush on grout lines and textured areas where a flat mop rides over the low spots. Change rinse water often, because grout releases dirty liquid back onto the surface.
Controlled rinsing matters on tile. Detergent left in grout dries gray and makes the lines look dirty again within days. Work in sections, pick up dirty solution promptly, and dry buff polished tile if water spots appear.
<a id="wood-needs-grit-removal-and-minimal-moisture"></a>
Wood Needs Grit Removal and Minimal Moisture
Wood floors fail from two things, abrasive grit and standing water. Vacuum with a hard floor setting, then use a microfiber pad that's damp, not dripping. Follow the grain, keep passes light, and dry any damp trail that lingers.
Avoid aggressive products and heavy scrubbing on the finish. If a traffic lane looks dull after cleaning and drying, you may be seeing finish wear, not dirt. More cleaner won't restore a worn finish, and repeated wetting can make the damaged area absorb moisture faster.
<a id="laminate-needs-seam-protection"></a>
Laminate Needs Seam Protection
Laminate looks like wood, but its core and joints are the concern. Prevent liquid from pooling at seams, and never pour solution directly across a wide area. Spray the pad or apply small amounts to a section you can wipe and dry quickly.
Testing is especially useful here because some products leave haze that only shows after drying. If water beads at a joint, blot it immediately. A swollen seam won't flatten because you clean it again tomorrow.
<a id="carpet-needs-dry-soil-removal-before-spot-work"></a>
Carpet Needs Dry Soil Removal Before Spot Work
Vacuum slowly in overlapping passes, with extra attention to entries and the path between rooms. Most of what makes carpet look tired is dry grit down in the pile, not a surface stain. Wet treatment before vacuuming turns that grit into muddy residue.
For spots, use minimal liquid and work from the outside toward the center to limit spread. Blot, don't grind the fibers. Over wetting creates slow drying problems in backing and padding, so ventilate the room and check by hand before replacing furniture.
<a id="remove-stains-without-spreading-the-damage"></a>
Remove Stains Without Spreading the Damage
A stain isn't a single problem. Coffee on laminate, grease in a tile traffic lane, and pet residue in carpet each need a different response. Guessing with a strong product first is how a small mark becomes a larger, lighter, or tackier patch.
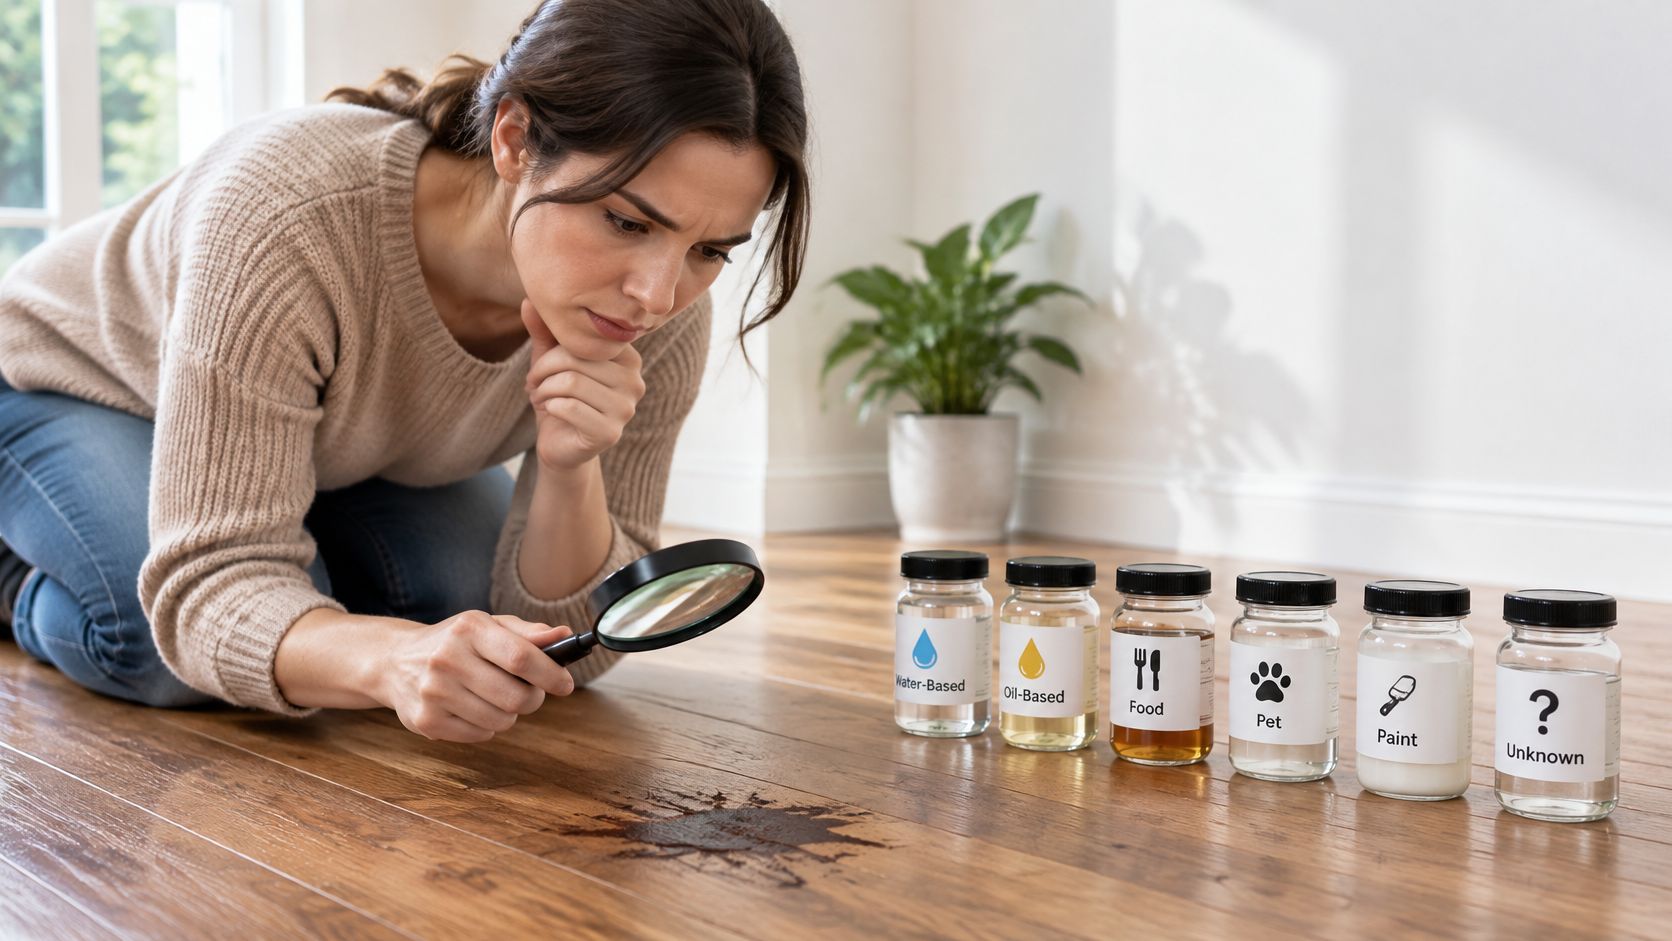
Start by naming what you're looking at. Is it water based, oil based, food, pet related, paint, or unknown residue? Then name the floor and finish. A treatment has to be compatible with both the stain and the surface, not just strong enough to change the color.
The inspection step below matters because close light and touch tell you whether you're dealing with surface residue, absorbed discoloration, or finish damage.
<a id="use-a-repeatable-stain-decision-process"></a>
Use a Repeatable Stain Decision Process
- Blot fresh spills first: Lift liquid with a clean cloth, working inward so the edge doesn't expand.
- Test in a hidden area: Wait for the test spot to dry before judging color or sheen.
- Apply minimal liquid: Add small amounts, because excess moisture spreads pigment and reaches seams or backing.
- Agitate gently only where needed: Use a soft cloth on smooth finishes and a soft brush only on grout or texture that can tolerate it.
- Change cloths frequently: A loaded cloth puts pigment back down.
- Stop when transfer stops: If nothing is lifting and the surface looks altered, continuing usually spreads damage.
A drink spill on laminate is mostly a speed and seam problem. Blot it, damp wipe the sugar residue, and dry the joints. Scrubbing hard doesn't help, and flooding the area creates a second problem at the edges.
Grease along a tile traffic lane by the stove behaves differently. It often looks like general dullness until you clean a test square and see the contrast. Pretreat that lane with a compatible detergent, agitate lightly, pick up the dirty solution, and rinse. If you only mop the whole kitchen quickly, the grease thins out and spreads.
Pet residue in carpet needs restraint. Blot, treat with a carpet compatible product, and blot again with clean sections of cloth. Saturating the spot can drive residue deeper and widen the damp area. Let it dry fully before deciding whether a second targeted pass is needed.
A visible mark being gone doesn't automatically mean the surface needs disinfectant, and a surface being disinfected doesn't mean the stain was cleaned first.
That distinction is practical, not semantic. A 2025 flooring maintenance document states that, outside sterile areas and blood or other hazardous spills, CDC does not require floor disinfectants, as summarized in the J+J biobased flooring maintenance guidance. Clean the mark, remove residue, and dry the area. Add a disinfecting step only when there's a specific contamination reason and the product label covers that floor.
After drying, verify under normal light and by touch. Look for a halo, sticky outline, color change, or raised seam. A stain that looks solved while wet can reappear as residue dries, especially on carpet and grout.
<a id="prevent-residue-and-disinfect-only-when-needed"></a>
Prevent Residue and Disinfect Only When Needed
Stronger doesn't automatically mean cleaner. For most residential floors, the healthiest result comes from thorough soil removal, clean tools, and no filmy residue left behind. Blanket disinfection on every deep clean is a misconception that can damage finishes and still miss the dirt trapped at edges.
CDC guidance states that floors generally have low patient exposure and pose a low risk for pathogen transmission, and that under normal circumstances disinfectant is not necessary, with studies finding no advantage from disinfecting floors compared with regular detergent and water cleaning, in the CDC guideline for environmental infection control. The same guidance notes that newly cleaned floors can be rapidly recontaminated by airborne microorganisms, shoes, equipment wheels, and body substances. In a home, shoes and pets make that point quickly.
Use a room by room decision rule instead. Routine bedrooms and living areas usually need vacuuming and compatible damp cleaning. Kitchens need grease and spill residue removal. Bathrooms, illness related messes, pet accidents, and hazardous spills may justify a targeted disinfecting step after cleaning. Renovation dust needs repeated dry and damp soil removal first, because disinfectant can't compensate for dust and grit still sitting on the surface.
<a id="if-you-disinfect-the-label-controls-the-job"></a>
If You Disinfect, the Label Controls the Job
Choose an EPA registered product whose label covers the intended use and the floor surface. Follow dilution directions, apply after cleaning, and keep the floor visibly wet for the full stated contact time. Never mix chemicals.
Contact time isn't a suggestion. EPA label examples specify three minute or 10 minute wet contact periods, and a product requiring 10 minutes must remain visibly wet for at least 10 minutes, with reapplication if drying occurs, as shown in an EPA registered product label example. Wiping dry early invalidates the labeled claim. Use a timer, watch for dry spots, and reapply where evaporation starts.
Residue prevention is the other half of this decision. Some products can leave sticky film or distort appearance if they're wrong for the material, and detergent film attracts soil so the floor looks dirty sooner. A strong smell or temporary shine isn't proof of cleanliness. Surface safe selection and residue removal are central to how professionals clean a house without overusing chemicals, especially in homes with children and pets.
<a id="troubleshoot-common-floor-cleaning-problems"></a>
Troubleshoot Common Floor-Cleaning Problems
When a deep clean disappoints, the symptom usually points to the cause. Streaks, stickiness, dullness, and rapid resoiling aren't random. They're feedback about water volume, tool cleanliness, product fit, or drying.
Sticky or tacky floors usually mean detergent or product residue remains. Don't add another layer of cleaner. Test a small area with a clean water rinse if the material allows it, using a fresh microfiber pad. If the tackiness lifts, repeat the rinse in sections and dry each one.
Streaks and haze often come from dirty solution, uneven drying, or too much product for a smooth surface. Change the pad, reduce solution, and work smaller sections. On polished tile or laminate, a final dry pass with clean microfiber can remove the water marks that look like dirt.
<a id="match-the-symptom-to-the-likely-cause"></a>
Match the Symptom to the Likely Cause
- Floor looks dirty again quickly: Film is attracting soil, or entry grit wasn't removed before damp cleaning.
- Dull traffic lanes: Embedded grit remains, the finish is worn, or residue is muting the surface.
- Dark spots after cleaning: Moisture reached a worn area, dirty solution pooled, or a stain wicked back as it dried.
- Gritty feel underfoot: Dry removal was rushed, especially at edges and under furniture.
Tile grout that stays brown after mopping is a common example. A flat mop can clean the tile face while dirty water settles into the lower grout line. The correction is section work with a soft brush, prompt pickup of dirty solution, and clean rinse water. Repeating the same whole room mop with the same bucket will reproduce the same brown lines.
Laminate that beads water or swells at seams is telling you moisture control failed. Stop wet cleaning that area, blot joints, and ventilate. Don't try to scrub a raised seam flat. Once the room is dry, test whether the issue is surface haze or actual joint damage before doing anything else.
Carpet with a damp patch after spot treatment needs drying, not more product. Blot with dry cloths, improve airflow, and keep furniture off the area. If a mark returns as the carpet dries, residue or soil from deeper in the pile may have wicked upward. A second light, targeted pass after full drying is safer than soaking it again immediately.
Verification check: The floor should feel smooth in socks, show no tacky drag, have flat seams, dry grout, and no damp carpet odor before rugs and furniture go back.
If two careful passes don't change the result, stop and reassess the material and finish. You may be cleaning wear, discoloration, or damage that detergent can't reverse. Recognizing that limit prevents the cycle of more water, more chemical, and more abrasion.
<a id="build-a-repeatable-floor-care-routine"></a>
Build a Repeatable Floor-Care Routine
A stable routine pairs frequent dry removal with less frequent, better controlled deep cleaning. Vacuum entries and traffic lanes before grit grinds into finishes or carpet pile. Blot spills promptly, change mop pads before they turn gray, and repeat the material specific sequence when edges, grout, or traffic lanes start holding soil again.
Keep the priorities simple by room. Kitchens need grease lane and toe kick attention. Bathrooms need edge work and careful drying. Bedrooms with wood or laminate need grit control and minimal moisture. Carpeted areas need slow vacuuming and restrained spot treatment.
<a id="room-by-room-checklist"></a>
Room by Room Checklist
- Entry and hallway: Vacuum grit, check seams and carpet paths, dry fully.
- Kitchen: Pretreat sticky lanes, brush grout or texture, rinse film.
- Bathroom: Clean edges and corners, disinfect only for a specific reason, ventilate.
- Living areas and bedrooms: Protect finishes, use barely damp pads on wood and laminate, verify no haze.
Delegate when buildup is neglected, you're preparing for a move, or renovation dust keeps resettling after repeated passes. J&M Cleaning Team is a locally owned residential cleaning company founded in 2006, serving Orlando, nearby Central Florida metros, and Tampa, with bonded, insured, background checked technicians and non toxic cleaning supplies. Its deep cleaning option is positioned for homes not professionally cleaned in one to two months, which fits the point where floor buildup usually stops responding to quick maintenance mopping. Use that kind of help as a reset, then keep the result with the dry removal and moisture control routine above.
---
If your floors still feel sticky, look hazy, or hold traffic lane soil after careful home cleaning, J&M Cleaning Team offers deep cleaning with thorough vacuuming, sweeping, and mopping for Orlando, Central Florida, and Tampa homes. Visit the site to review service options, get transparent flat rate information, and schedule a reset that matches your floor type and level of buildup.