Document condition first, clean top-down and dry-before-wet, then complete a final walkthrough with photos; an apartment turnover cleaning checklist works only when the order prevents rework.
The outgoing tenant has returned the keys, maintenance still has tools in the hallway, and leasing wants to know when the apartment will be ready. Meanwhile, someone needs to decide whether that carpet mark is removable soil, existing wear, or damage that needs a separate record.
A turnover is a timed handover, not just a deep clean. Crews need access, an approved scope, and a clear boundary between cleaning and repairs before they unload equipment. Otherwise, a cleaner finishes the bathroom just before maintenance cuts drywall beside it.
The sequence below treats kitchen and bathroom work as controlled cleaning zones, with their overhead dust removed before wet work begins. Whole-unit high dusting follows in untouched rooms, floors stay unfinished until overhead work is complete, and the later trash pass removes cleaning-generated waste rather than furniture that should've been cleared before work started.
Practical rule: Don't mark a room finished while another worker still needs to create dust inside it.
Pair every stage with a record of what the crew found, what they cleaned, and what remains unresolved. For Florida properties, those records support transparent deposit decisions, but they don't replace lease review or compliance with applicable law.
Table of Contents
- [1. Pre-Cleaning Walkthrough and Condition Documentation](#1-pre-cleaning-walkthrough-and-condition-documentation)
- [Set the release conditions](#set-the-release-conditions)
- [2. Kitchen Appliance and Cabinet Deep Clean](#2-kitchen-appliance-and-cabinet-deep-clean)
- [Work from interiors to finished surfaces](#work-from-interiors-to-finished-surfaces)
- [3. Bathroom Sanitizing, Descaling, and Mold Prevention](#3-bathroom-sanitizing-descaling-and-mold-prevention)
- [Separate cleaning from moisture repair](#separate-cleaning-from-moisture-repair)
- [4. High Dusting of Ceiling Fans, Vents, Light Fixtures, and Top Surfaces](#4-high-dusting-of-ceiling-fans-vents-light-fixtures-and-top-surfaces)
- [5. Baseboards, Doors, Walls, and Switch Plates Detailing](#5-baseboards-doors-walls-and-switch-plates-detailing)
- [Stop before cleaning becomes damage](#stop-before-cleaning-becomes-damage)
- [6. Interior Windows, Sills, Tracks, and Blinds](#6-interior-windows-sills-tracks-and-blinds)
- [Leave a usable opening, not just clear glass](#leave-a-usable-opening-not-just-clear-glass)
- [7. Hard Floor Cleaning, Mopping, and Grout Care](#7-hard-floor-cleaning-mopping-and-grout-care)
- [Match the method to the floor](#match-the-method-to-the-floor)
- [8. Carpet Vacuuming, Spot Treatment, and Steam Extraction](#8-carpet-vacuuming-spot-treatment-and-steam-extraction)
- [Schedule drying as part of the job](#schedule-drying-as-part-of-the-job)
- [9. Trash Removal, Debris Clearing, and Common Area Tidying](#9-trash-removal-debris-clearing-and-common-area-tidying)
- [Keep possessions separate from rubbish](#keep-possessions-separate-from-rubbish)
- [10. Final Walkthrough, Odor Control, and Punch List Verification](#10-final-walkthrough-odor-control-and-punch-list-verification)
- [Separate cleaning acceptance from building readiness](#separate-cleaning-acceptance-from-building-readiness)
- [10-Point Apartment Turnover Cleaning Checklist Comparison](#10-point-apartment-turnover-cleaning-checklist-comparison)
- [Turn the Checklist Into a Repeatable Turnover System](#turn-the-checklist-into-a-repeatable-turnover-system)
- [Give every task an owner and a release condition](#give-every-task-an-owner-and-a-release-condition)
- [Choose in-house or outsourced execution deliberately](#choose-in-house-or-outsourced-execution-deliberately)
<a id="1-pre-cleaning-walkthrough-and-condition-documentation"></a>
1. Pre-Cleaning Walkthrough and Condition Documentation
Before anyone moves a bag or sprays a surface, photograph the apartment as received. Capture room-wide views, then close-ups of grease, stains, broken fixtures, abandoned belongings, and suspected moisture damage.
Compare those images with the move-in record rather than treating every visible defect as tenant-caused damage. For example, photograph a bedroom carpet stain before treatment, but record an already-documented worn traffic path separately.
Keep observations factual. “Dark mark beside bedroom window” is more defensible than “tenant ruined carpet” when nobody has established the cause.
<a id="set-the-release-conditions"></a>
Set the release conditions
- Access and scope: Confirm utilities, appliance access, included add-ons, and who can authorize extra work.
- Hazard screening: Flag suspected mold, pest contamination, sewage, chemical spills, or heavy smoke residue before routine cleaning proceeds.
- Repair handoff: Finish painting, drywall, flooring, and fixture work before the final clean.
- Evidence storage: Save timestamped photos, room names, assigned responsibilities, and unresolved conditions in the unit record.
That repair-before-cleaning sequence and auditable handoff align with Rent Ready's make-ready guidance.
For Florida deposit administration, keep cleaning evidence separate from decisions about deductions under Florida Statutes §83.49. Have the manager verify the applicable lease and legal requirements; a cleaning invoice alone doesn't establish that a charge is justified.
Give outgoing residents the same expectations using a move-out cleaning checklist for renters, so the handover isn't based on an unwritten standard.
<a id="2-kitchen-appliance-and-cabinet-deep-clean"></a>
2. Kitchen Appliance and Cabinet Deep Clean
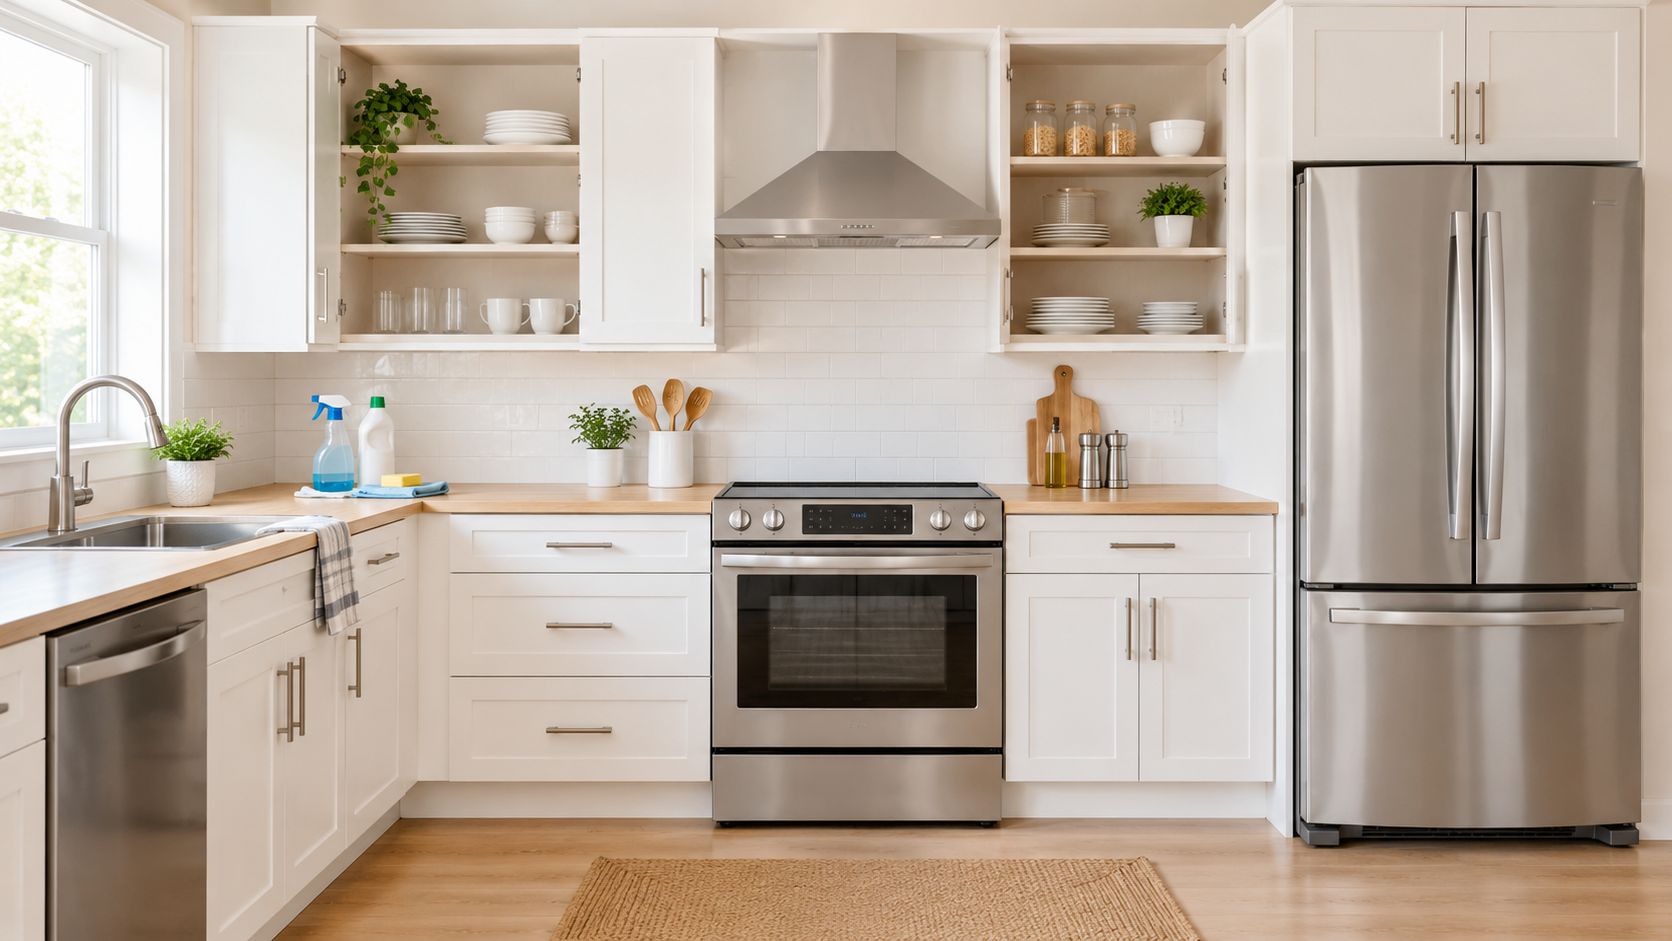
An oven can look acceptable through the glass while grease remains on its interior edges. Open appliances, drawers, and cabinets before judging the kitchen, then photograph their condition before removing residue.
Begin with loose debris and overhead dust within the kitchen zone. Clean cabinet tops and accessible hood surfaces before wet-cleaning anything underneath; leave the floor for the floor-finishing stage.
<a id="work-from-interiors-to-finished-surfaces"></a>
Work from interiors to finished surfaces
Remove accessible racks, shelves, and drawers as the appliance instructions allow. Clean the oven, refrigerator, microwave, dishwasher edges, and cabinet interiors before finishing fronts, handles, counters, and the sink.
- Match the product: Use a cleaner approved for the appliance finish and follow food-contact surface rinsing instructions.
- Check concealed areas: Inspect beneath removable drawers and around accessible appliance edges without disconnecting equipment or disturbing utility connections.
- Record exceptions: Photograph damaged gaskets, rust, broken shelves, and residue that remains after approved treatment.
For example, a refrigerator odor may require drawer removal and detailed gasket cleaning, not another wipe across the door. Follow a defined refrigerator deep-cleaning process, and refer inaccessible components or operating faults to maintenance.
Photograph cleaned interiors before closing them. A listing photo of the kitchen doesn't show whether the oven or cabinets were properly cleaned.
<a id="3-bathroom-sanitizing-descaling-and-mold-prevention"></a>
3. Bathroom Sanitizing, Descaling, and Mold Prevention
A dark shower joint isn't permission to scrub harder until the surface looks different. Record the condition first, especially when discoloration appears beside failed caulk, soft material, or an active leak.
In Central Florida, don't release a bathroom based on appearance alone when moisture concerns remain. The distinction between routine cleaning and conditions requiring specialist intervention belongs in the turnover scope, as outlined in this apartment turnover safety and readiness guidance.
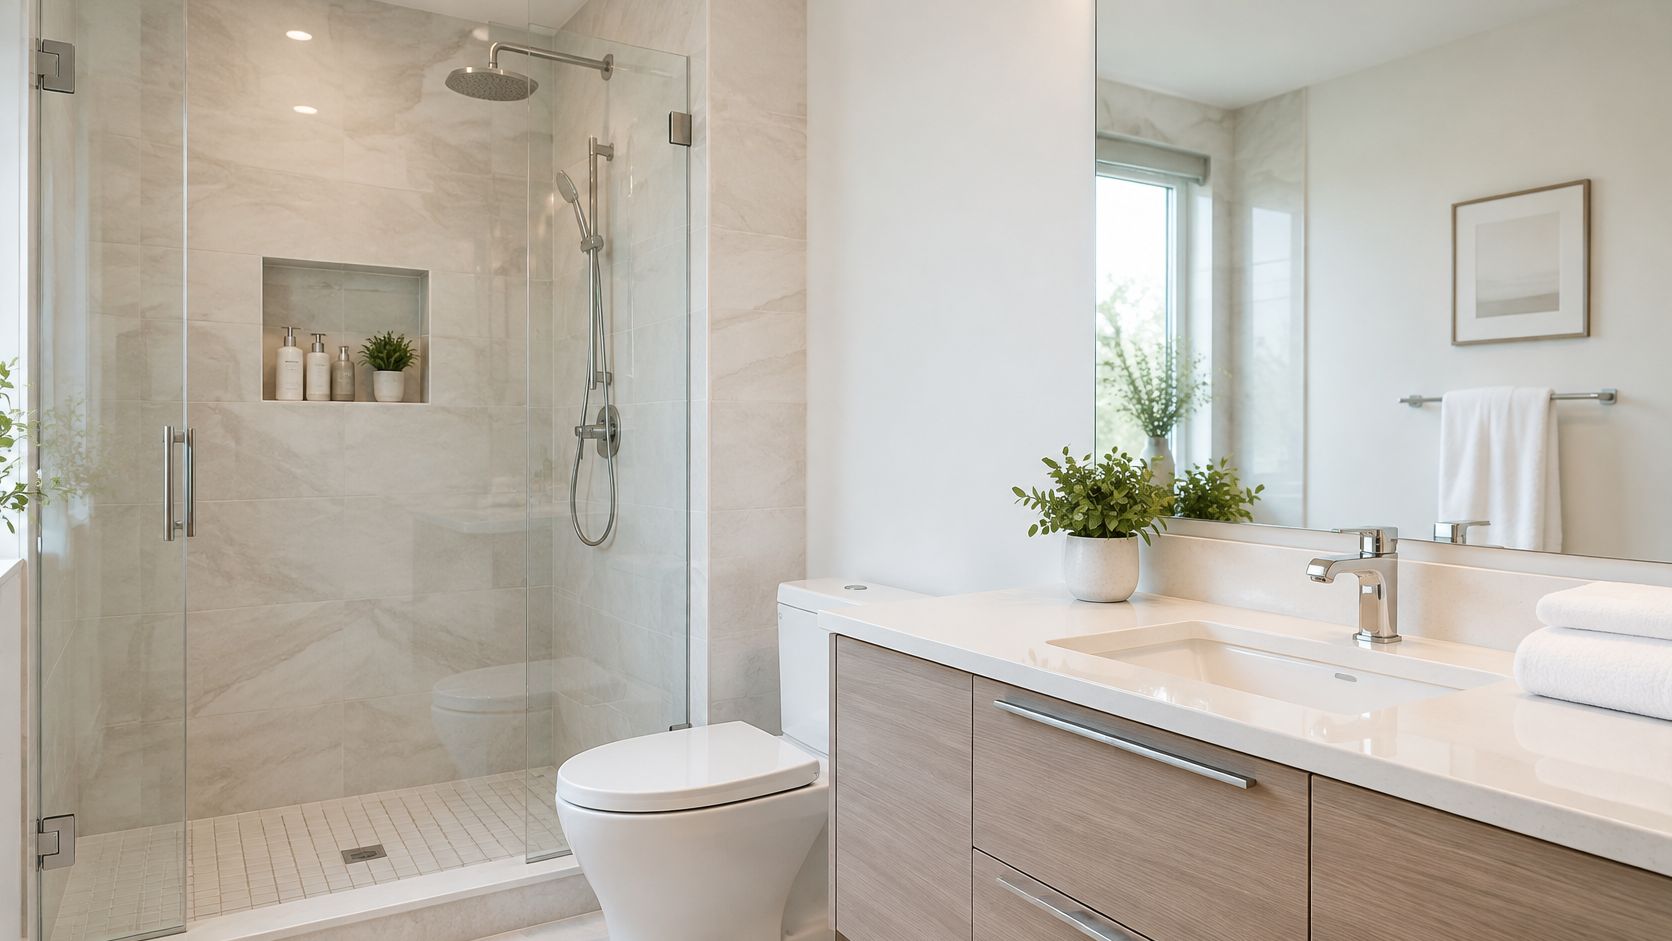
Remove accessible overhead dust before starting wet work. Then clean mirrors, shower surfaces, the vanity, plumbing fixtures, and the toilet, keeping toilet-cleaning materials separate from other surfaces.
<a id="separate-cleaning-from-moisture-repair"></a>
Separate cleaning from moisture repair
- Product control: Follow surface compatibility, ventilation, and label dwell-time instructions. Don't mix cleaning products.
- Material protection: Identify stone, coated fixtures, and other sensitive finishes before choosing a descaler.
- Maintenance referral: Report leaking connections, failed caulk, recurring discoloration, or suspected mold in writing.
For example, if a vanity cabinet remains damp after the sink is wiped, stop treating the problem as ordinary grime. Ask maintenance to investigate and document who accepts the repair.
Finish with photos of the shower joints, toilet base, vanity interior, and accessible exhaust cover. Record whether ventilation concerns remain instead of describing the room as mold-free or sanitized without a defined basis.
<a id="4-high-dusting-of-ceiling-fans-vents-light-fixtures-and-top-surfaces"></a>
4. High Dusting of Ceiling Fans, Vents, Light Fixtures, and Top Surfaces
The kitchen and bathroom zones should already have had their overhead dust removed before wet cleaning. Continue through untouched bedrooms, living areas, closets, and utility spaces without carrying dusty equipment back through finished rooms.
Work from ceiling corners to fan blades, fixture exteriors, door tops, closet shelves, and accessible registers. Switch equipment off, use suitable access equipment, and leave unsafe or inaccessible locations for an authorized worker.
The EPA's guidance on indoor particulate matter recommends damp dusting and HEPA-equipped vacuuming to reduce the chance of settled dust becoming airborne. Apply that principle with controlled collection rather than brushing dust into the room.
Collect dust where it sits. Don't knock it onto a clean countertop and call that progress.
For example, a fan above a carpeted bedroom should be cleaned before the carpet crew arrives, not during the final inspection.
- Capture debris: Vacuum accessible vent covers and edges before damp wiping.
- Protect finishes: Use a lightly damp cloth where appropriate rather than uncontrolled spraying.
- Document filter status: Record inspection or replacement according to the equipment manufacturer's instructions.
- Photograph exceptions: Flag heavy deposits, staining, damaged covers, or inaccessible fixtures.
Use the later floor passes to collect anything that escaped capture. A clean-looking register isn't evidence that concealed ductwork is clean, and the crew shouldn't make that claim.
<a id="5-baseboards-doors-walls-and-switch-plates-detailing"></a>
5. Baseboards, Doors, Walls, and Switch Plates Detailing
A scuff that won't lift isn't automatically a cleaning failure. The crew needs to distinguish removable soil from worn paint, chipped trim, and physical damage before aggressive rubbing changes the surface.
Start at the top of each door and frame, then work down to handles and baseboards. Spot-clean walls only within the agreed scope, using a surface-compatible product tested in an inconspicuous location.
<a id="stop-before-cleaning-becomes-damage"></a>
Stop before cleaning becomes damage
For example, if a dark chair mark remains on flat paint after gentle treatment, photograph it and refer it for touch-up assessment. Don't keep scrubbing until the paint sheen changes and the original condition becomes harder to establish.
- Doors and trim: Remove accessible dust, fingerprints, and grime while noting swollen edges or damaged finishes.
- Switch plates: Wipe the exterior with a controlled amount of moisture, never spraying into electrical components.
- Baseboards: Collect loose hair and dust before damp detailing.
- Wall exceptions: Record remaining marks as observations, not automatic tenant charges.
Keep touch-up painting with maintenance rather than improvising with whatever paint is available. If repairs are approved after cleaning, protect finished areas and require a localized reclean.
For deposit documentation, pair close-ups with a wider image showing location. A photograph of an isolated scratch isn't as useful as a matched before-and-after record that shows where it is and whether cleaning changed it.
<a id="6-interior-windows-sills-tracks-and-blinds"></a>
6. Interior Windows, Sills, Tracks, and Blinds
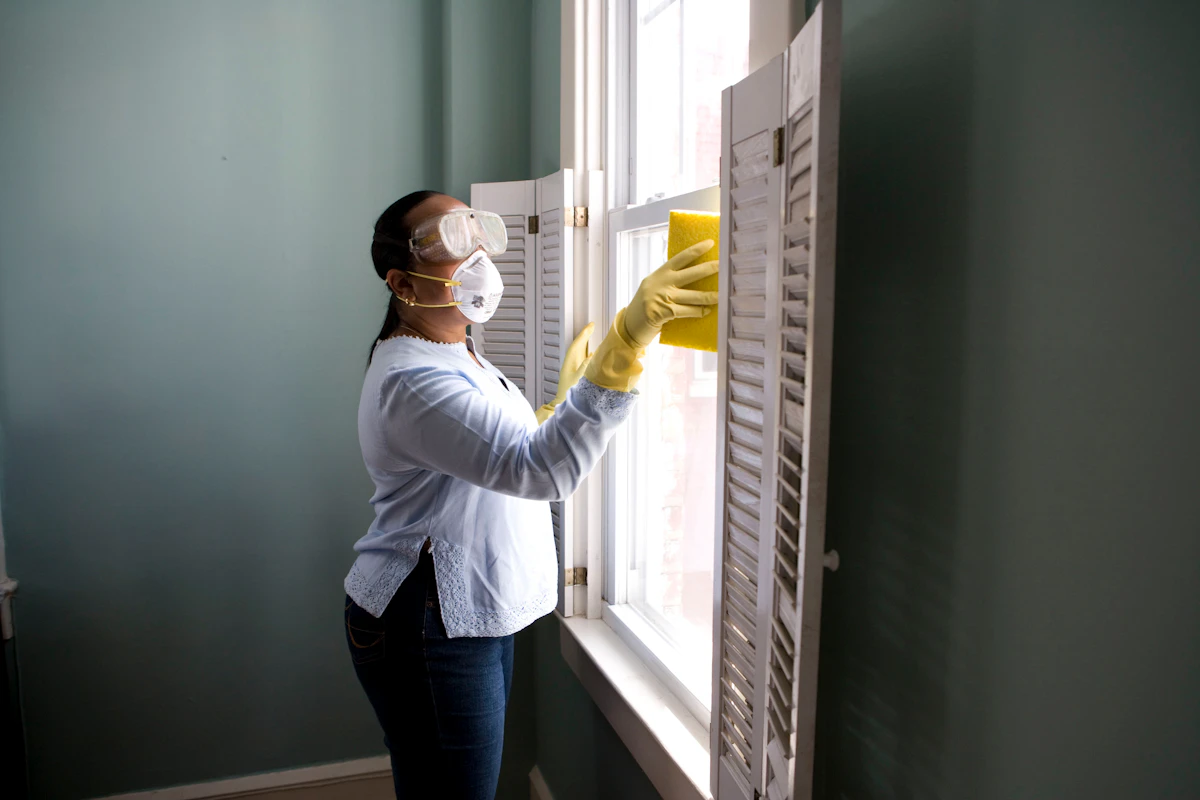
Start with the track, not the glass. Vacuum loose dirt and insects before adding moisture, so the crew isn't pushing dirty slurry into corners and drainage openings.
Clean accessible upper frames and blinds before wiping sills and finishing interior glass. Keep exterior glazing, screens, raised access, and specialized blind treatments separate unless the approved scope includes them.
<a id="leave-a-usable-opening-not-just-clear-glass"></a>
Leave a usable opening, not just clear glass
A sliding door may look spotless while debris remains in the track. Remove accessible soil, then report continued sticking rather than assuming cleaning can correct a worn roller or alignment problem.
- Blinds and shades: Check material condition and use an appropriate method; flag brittle or damaged components.
- Tracks and corners: Vacuum first, then detail with a lightly damp cloth and a suitable small brush.
- Glass and edges: Control drips and check the result from different viewing angles.
- Hardware: Record damaged latches, torn seals, or operating concerns for maintenance.
For example, photograph a cracked blind slat before handling it, then document the completed cleaning without presenting replacement as part of the cleaning charge.
Finish nearby sill and trim work before floor cleaning. If the crew discovers moisture staining around a Central Florida window, record it as a condition requiring review rather than wiping away the visible mark.
The acceptance threshold is straightforward: accessible glass is free of visible residue, tracks have no loose debris, and unresolved operating problems appear on the punch list.
<a id="7-hard-floor-cleaning-mopping-and-grout-care"></a>
7. Hard Floor Cleaning, Mopping, and Grout Care
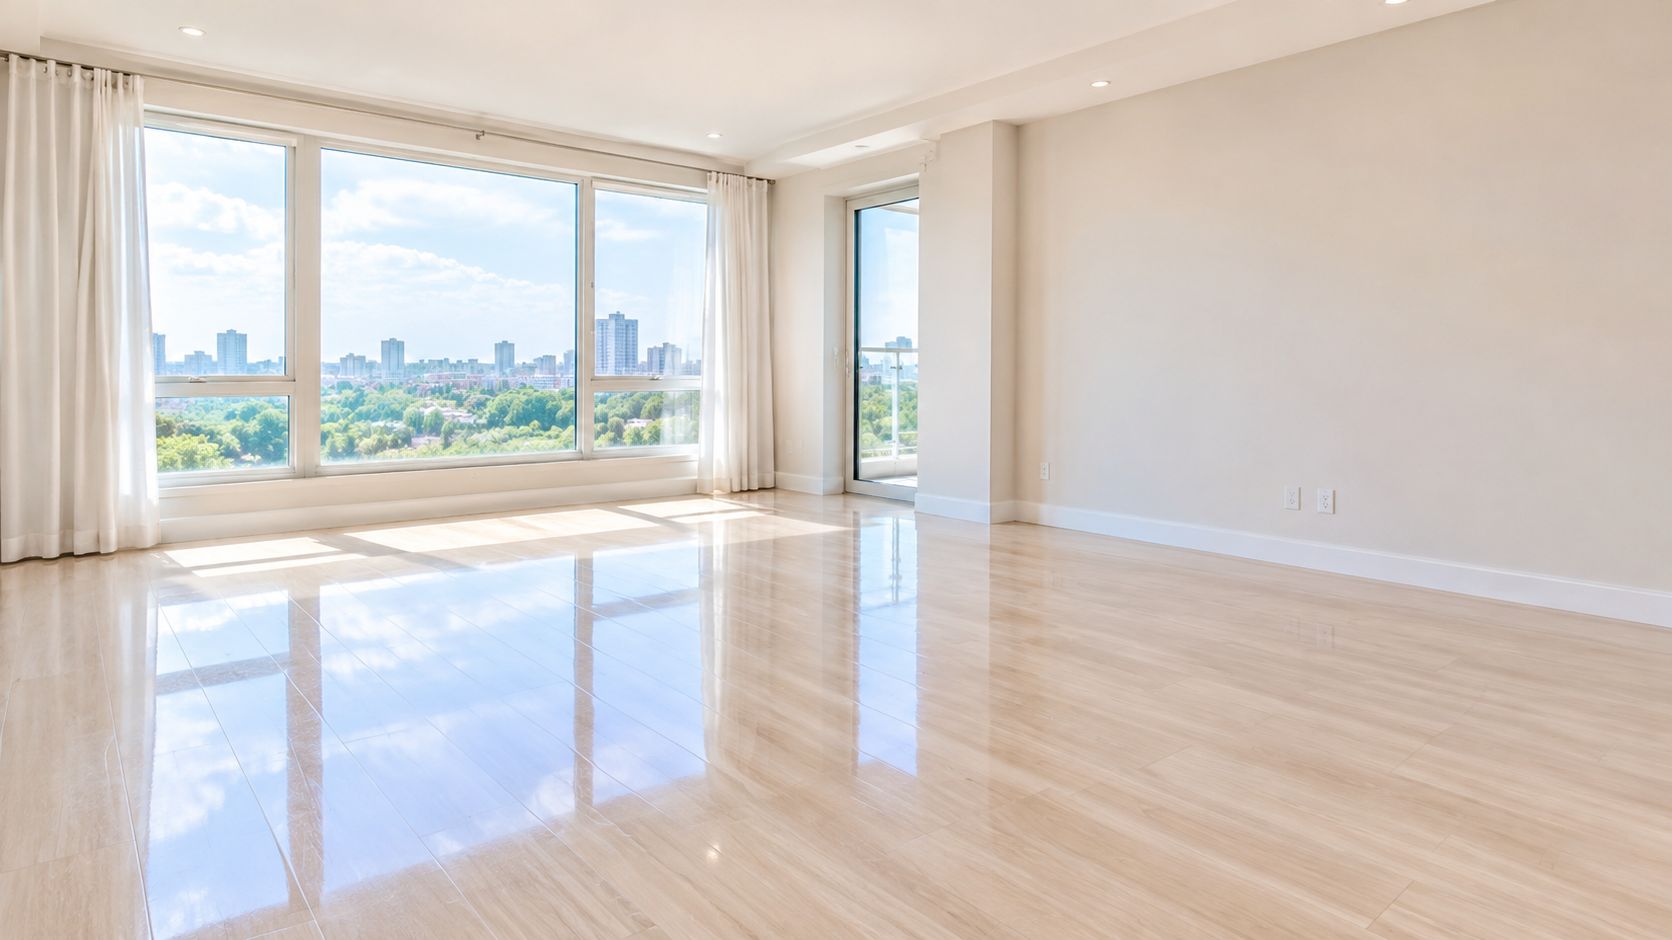
Don't wet-clean floors while overhead or wall work remains unfinished. Inspect the work route first, then collect dry debris from corners, thresholds, closets, and accessible appliance edges.
Although sweeping is familiar, controlled vacuuming and microfiber collection are better choices for a dust-sensitive turnover. The supplied turnover cleaning standards emphasize a written cleaning plan, HEPA-filtered vacuuming, damp methods, and documented acceptance criteria for high-dust work.
<a id="match-the-method-to-the-floor"></a>
Match the method to the floor
Check the manufacturer's instructions before selecting a product or machine. Don't assume tile, luxury vinyl plank, laminate, and hardwood can tolerate the same chemistry, agitation, or moisture.
- Dry collection: Vacuum edges and loose debris before mopping.
- Wet finishing: Use compatible products, controlled moisture, and clean mop materials.
- Damage separation: Photograph scratches, lifting edges, chipped tile, and grout defects independently of dirt.
- Access control: Keep workers off the floor until it's dry.
For example, a dull patch on vinyl may be residue, wear, or finish damage. Test the approved cleaning method before promising restoration.
Coordinate carpet equipment routes before finishing connecting hard floors. If an extractor must cross the hallway, protect that route and schedule its final mop after equipment leaves, rather than declaring the hallway complete prematurely.
<a id="8-carpet-vacuuming-spot-treatment-and-steam-extraction"></a>
8. Carpet Vacuuming, Spot Treatment, and Steam Extraction
Carpet cleaning starts with a condition decision: clean, seek specialist treatment, or refer for replacement assessment. Don't promise that extraction will correct burns, worn fibers, damaged backing, or every persistent odor.
Photograph stains and traffic areas before treatment, using room-wide images as well as close-ups. Vacuum thoroughly, inspect edges and closets, and identify the carpet's care requirements before selecting spot treatments or hot-water extraction.
<a id="schedule-drying-as-part-of-the-job"></a>
Schedule drying as part of the job
For example, a pet-related stain beneath a bedroom window needs a location record and an approved treatment scope. If odor remains after cleaning, report the result rather than repeatedly applying products without authorization.
- Test compatibility: Check treatment suitability and colorfastness in an inconspicuous area.
- Control access: Keep shoes, hoses, and equipment from re-soiling finished rooms.
- Plan drying: Confirm an appropriate ventilation and air-conditioning plan for the Central Florida property.
- Verify readiness: Don't release carpeted rooms while the carpet remains damp.
Handover standard: “Cleaning completed” and “ready for occupancy” aren't interchangeable when drying or odor investigation is still pending.
Capture after-photos from the original positions and record remaining marks without promising that they represent tenant damage. The manager should compare the full condition history before deciding how any cost is allocated.
Keep extraction equipment and disposal activity out of completed spaces wherever possible. Inspect the equipment route afterward and reclean any affected hard flooring before sign-off.
<a id="9-trash-removal-debris-clearing-and-common-area-tidying"></a>
9. Trash Removal, Debris Clearing, and Common Area Tidying
Bulk trash and authorized abandoned-item removal belong before detailed cleaning, not at the end. This stage is the final waste sweep for cleaning-generated rubbish, packaging, collected debris, and equipment left during the work.
If furniture or personal belongings still block access, stop and return the unit to preparation status. Don't clean around them and certify the concealed surfaces as complete.
<a id="keep-possessions-separate-from-rubbish"></a>
Keep possessions separate from rubbish
For example, a folder of personal documents found on a closet shelf should be reported to the manager, not dropped into the crew's trash bag. The manager must determine the appropriate handling process under the lease and applicable requirements.
- Inside the unit: Recheck closets, cabinet corners, utility spaces, and behind open doors.
- Associated spaces: Inspect included balconies, patios, garages, and storage areas.
- Waste handling: Separate unidentified chemicals, paint, batteries, and other items requiring an approved disposal route.
- Shared access: Remove crew-generated debris from the agreed hallway or entry route without expanding into unapproved common-area work.
Photograph cleared spaces and note any items retained for management review. Record who authorized removal when the status of an item was uncertain.
Don't drag bags across finished floors or leave them beside an entrance awaiting an unspecified pickup. Confirm the approved disposal location before the crew packs up, then inspect the exit route for spills, loose debris, and forgotten supplies.
<a id="10-final-walkthrough-odor-control-and-punch-list-verification"></a>
10. Final Walkthrough, Odor Control, and Punch List Verification
Use a verifier who didn't perform the cleaning whenever possible. Inspect in daylight, reopen cabinets and appliances, and check corners, tracks, vents, and floor edges rather than judging the apartment from the doorway.
Address odors at the source instead of covering them with fragrance. A bathroom odor that remains after cleaning may need maintenance investigation, while suspicious chemical odors or contamination require a different response from routine cleaning.
<a id="separate-cleaning-acceptance-from-building-readiness"></a>
Separate cleaning acceptance from building readiness
The EPA's air-duct cleaning guidance doesn't recommend routine duct cleaning and identifies substantial visible contamination as a reason to consider specialized work. Don't add duct cleaning automatically just because the apartment is vacant.
- Cleaning verification: Check for visible dust, appliance residue, loose debris, streaks, and unfinished areas.
- Readiness referral: Have the responsible person verify alarms, locks, fixtures, leaks, and other maintenance items.
- Exceptions: Assign each unresolved issue an owner and a release decision.
- Evidence: Capture final timestamped photos after equipment and waste are removed.
For example, if a slow leak appears beneath the vanity during inspection, reopen the maintenance task and withhold acceptance of that area. A clean cabinet doesn't resolve the leak.
Send the completed scope, photos, and punch list together. Use the move-out cleaning cost calculator when comparing a revised professional scope, rather than approving an undefined extra-cleaning charge.
<a id="10-point-apartment-turnover-cleaning-checklist-comparison"></a>
10-Point Apartment Turnover Cleaning Checklist Comparison
| Task | 🔄 Complexity / Resources | 📊 Expected Outcome | ⭐ Key Advantage | 💡 Ideal Use Case |
|---|---|---|---|---|
| Pre-Cleaning Walkthrough and Condition Documentation | Moderate; checklist, camera, and inspection time | Clear scope and documented unit condition | Helps prevent disputes and improve labor estimates | Before turnover cleaning or deposit decisions |
| Kitchen Appliance and Cabinet Deep Clean | High; degreasers and extra time for appliances | Cleaner appliances, cabinets, and reduced food odors | Targets a highly scrutinized area | Rental turnover, inspections, or home listings |
| Bathroom Sanitizing, Descaling, and Mold Prevention | Moderate–high; surface-safe cleaners and ventilation | Sanitized fixtures with less scale and mildew buildup | Improves freshness and addresses moisture-related buildup | Humid, heavily used, or inspection-ready bathrooms |
| High Dusting: Ceiling Fans, Vents, Light Fixtures, and Top Surfaces | Moderate; extension tools or ladder and careful handling | Less dust and cleaner-looking upper surfaces | Removes often-missed dust before floors are cleaned | Deep cleans, turnovers, and property showings |
| Baseboards, Doors, Walls, and Switch Plates Detailing | Moderate; microfiber cloths and surface-safe cleaner | More polished surfaces with fewer visible scuffs | Improves walkthrough appearance at relatively low cost | Turnovers and pre-sale detailing |
| Interior Windows, Sills, Tracks, and Blinds | Moderate–high; glass tools and time for tracks and blinds | Brighter rooms and cleaner window tracks | Enhances natural light and showing appeal | Rental turnovers, listings, or post-construction cleaning |
| Hard Floor Cleaning: Sweeping, Mopping, and Grout Care | Moderate; floor-specific cleaner and mop | Cleaner floors with reduced residue and visible grime | Refreshes hard surfaces and can reveal damage | Routine deep cleaning and unit turnovers |
| Carpet Vacuuming, Spot Treatment, and Steam Extraction | High; vacuum, extractor, treatments, and drying time | Reduced embedded soil, allergens, and odors | Cleans beyond what vacuuming alone can remove | Pet-occupied units or carpeted turnovers |
| Trash Removal, Debris Clearing, and Common Area Tidying | Variable; disposal arrangements and extra labor for bulky items | Empty, accessible, and safer spaces | Prevents debris from delaying inspection or turnover | Move-outs with abandoned items or clutter |
| Final Walkthrough, Odor Control, and Punch List Verification | Moderate; checklist, photos, and inspection time | Verified completion and documented remaining issues | Catches missed work before handover | After cleaning, before showings or occupancy |
<a id="turn-the-checklist-into-a-repeatable-turnover-system"></a>
Turn the Checklist Into a Repeatable Turnover System
A useful apartment turnover cleaning checklist tells the crew what happens next, who owns it, and what proves completion. A checked box without a condition record or acceptance standard leaves the manager guessing when a tenant, leasing agent, or contractor questions the result.
Build a unit-specific template before the next vacancy. Include bedrooms, living areas, closets, appliances, bathrooms, windows, utility spaces, and any associated storage or outdoor areas that belong in the scope.
<a id="give-every-task-an-owner-and-a-release-condition"></a>
Give every task an owner and a release condition
For each task, record the observed condition, approved method, assigned worker, completion status, evidence, and verifier. Keep maintenance exceptions visible rather than burying them inside a cleaner's notes.
Use simple release gates:
- Ready for cleaning: Belongings are handled, authorized waste is cleared, hazards are assessed, and dust-producing repairs are finished.
- Ready for verification: Cleaning is complete, equipment is removed, floors are dry, and exceptions are documented.
- Ready for handover: The responsible manager has reviewed the evidence and accepted or resolved outstanding items.
Keep deposit administration separate from cleaning completion. Matched photographs, itemized work records, and a clear distinction between cleaning and repair can support a fair review, but they don't determine legal entitlement to a deduction.
The supplied research on move-out cleaning disputes highlights the importance of consistent condition evidence. Give both the manager and resident a clear way to identify an inaccurate description, missing photograph, or charge that doesn't match the documented work.
<a id="choose-in-house-or-outsourced-execution-deliberately"></a>
Choose in-house or outsourced execution deliberately
Keep a turnover in-house when the team has the equipment, access, training, and time to complete the defined scope. Request professional move-in/out cleaning when buildup, appliance interiors, detailed trim work, or scheduling pressure exceeds that capacity; use a separately defined post-construction scope after renovation.
Suspected contamination, unresolved moisture, and unsafe conditions need the appropriate specialist or maintenance response, not just a larger cleaning crew. Escalation is part of a complete checklist, not evidence that the checklist failed.
For Orlando and Central Florida properties, compare your internal labor and equipment plan with J&M Cleaning Team's flat-rate quote tool. Call (407) 668-0041 to discuss access, included tasks, add-ons, and the handover window before scheduling.
Save the completed packet with the unit record, then review callbacks and unresolved issues before reusing the template. Keep the sequence stable, but adjust the scope to the apartment's actual condition.
---
J&M Cleaning Team offers move-in/out and post-construction cleaning for Orlando and Central Florida turnovers, with transparent flat-rate quotes before scheduling. Visit J&M Cleaning Team to price your unit, confirm appliance and detailing add-ons, and arrange a cleaning window after repairs and before the final walkthrough.