You're looking at a bathroom that got a quick wipe this morning and still looks tired. Soap film coats the shower walls. The grout is darker than the tile. The faucet has a white ring of hard water, and the toilet base has a film you can feel with a finger. Guests are coming, or someone in the house is already sick, and another pass with the same cloth will not reset the room.
A real how to deep clean bathroom job is a sequence, not a stronger spray. You clear the room, wash soil off with detergent, and save disinfectant for hard surfaces that can stay wet for the full time on the label. Start at the toilet and then wipe the sink with the same cloth, and you carry contamination onto a surface people touch with their hands.
Table of Contents
- [Deep Clean Order and Time Budget](#deep-clean-order-and-time-budget)
- [Why the dirty end goes last](#why-the-dirty-end-goes-last)
- [Supplies and Setup Before You Scrub](#supplies-and-setup-before-you-scrub)
- [What goes in the caddy](#what-goes-in-the-caddy)
- [When Disinfection Is Actually Needed](#when-disinfection-is-actually-needed)
- [Where the label actually applies](#where-the-label-actually-applies)
- [How to Clean the Shower, Tub and Grout](#how-to-clean-the-shower-tub-and-grout)
- [The wash, from the top down](#the-wash-from-the-top-down)
- [Stains, hardware, and fabric](#stains-hardware-and-fabric)
- [How to Clean the Toilet, Sink and Mirrors](#how-to-clean-the-toilet-sink-and-mirrors)
- [Sink and glass first](#sink-and-glass-first)
- [Toilet, then the floor out the door](#toilet-then-the-floor-out-the-door)
- [Set a Post-Clean Routine and Decide When to Hire Help](#set-a-post-clean-routine-and-decide-when-to-hire-help)
- [Checks you can do this week](#checks-you-can-do-this-week)
- [When the fan or the mold is past a cloth](#when-the-fan-or-the-mold-is-past-a-cloth)
<a id="deep-clean-order-and-time-budget"></a>
Deep Clean Order and Time Budget
The clock matters as much as the product. Use this order so dirt falls onto surfaces you have not finished yet, and so the dirtiest zone never touches a clean cloth.
| Order | Zone | Typical time | Tools |
| --- | --- | --- | --- |
| 1 | Vents, fan cover, light fixtures | 10-15 min | Dry microfiber, vacuum brush |
| 2 | Walls, tile and shower door | 20-30 min | Non-scratch pad, cleaner |
| 3 | Tub or shower, grout and soap scum | 40-60 min | Stiff grout brush, descaler |
| 4 | Sink, faucets, vanity, mirror | 15-20 min | Dedicated microfiber cloths |
| 5 | Toilet exterior, seat, base | 15-20 min | Dedicated toilet cloth or brush |
| 6 | Floor and final rinse | 10-15 min | Mop, separate bucket |
Add the zones up and a first deep clean of a standard bathroom runs about 1.8 to 2.7 hours. The tub, shower, and grout take the largest share, and the grout line is where schedules die. A 2023 poll of 2,000 UK adults found that people typically deep-clean their bathrooms less than once a week, that 14% sometimes skip cleaning products, and that a quick bathroom clean takes about 10 minutes. That ten-minute wipe is maintenance. This table is a different job.
One timing note the table cannot show. Contact time hides inside these numbers. Where a disinfectant label calls for the surface to stay visibly wet for several minutes, you apply it early in the zone and let it sit while you scrub something nearby. You only use it where you can actually hold that wet time. A fast spray and wipe kills nothing.
<a id="why-the-dirty-end-goes-last"></a>
Why the dirty end goes last
Toilets, drains, and wet cloths carry the load you do not want on a faucet. Research summarized in a peer-reviewed review of household microbes found that enteric bacteria can transfer from toilets to sinks during cleaning, and that cleaning tools themselves can become colonized. A separate household study in that review found that more than 80% of 201 homes contained at least one species of enterobacteria, with the highest rates in wet sites: toilet water, sink drains, bath areas, cleaning cloths, and mops.
Work high to low and cleanest to dirtiest. Dust the vent and light first so grit does not fall into wet cleaner. Reserve the toilet and the floor for last. Keep three cloths apart: one for the toilet, one for the sink, and one for mirrors. A used toilet cloth does not go back to the vanity.
Skip the order and you pay for it twice. You re-wipe the sink after the toilet cloth touches it, or you mop twice because dirty water ran off a wall you cleaned after the floor.
Practical rule: If you only have an hour, finish the shower and grout. Leave the floor for the end, even if that means the floor waits until tomorrow.
The same top-to-bottom logic scales to the rest of the house. If you want the full route a crew uses room by room, see how professionals clean a house.
<a id="supplies-and-setup-before-you-scrub"></a>
Supplies and Setup Before You Scrub
Start with the room, not the bottle. A cleaner cannot reach what bottles, mats, and hair are covering.
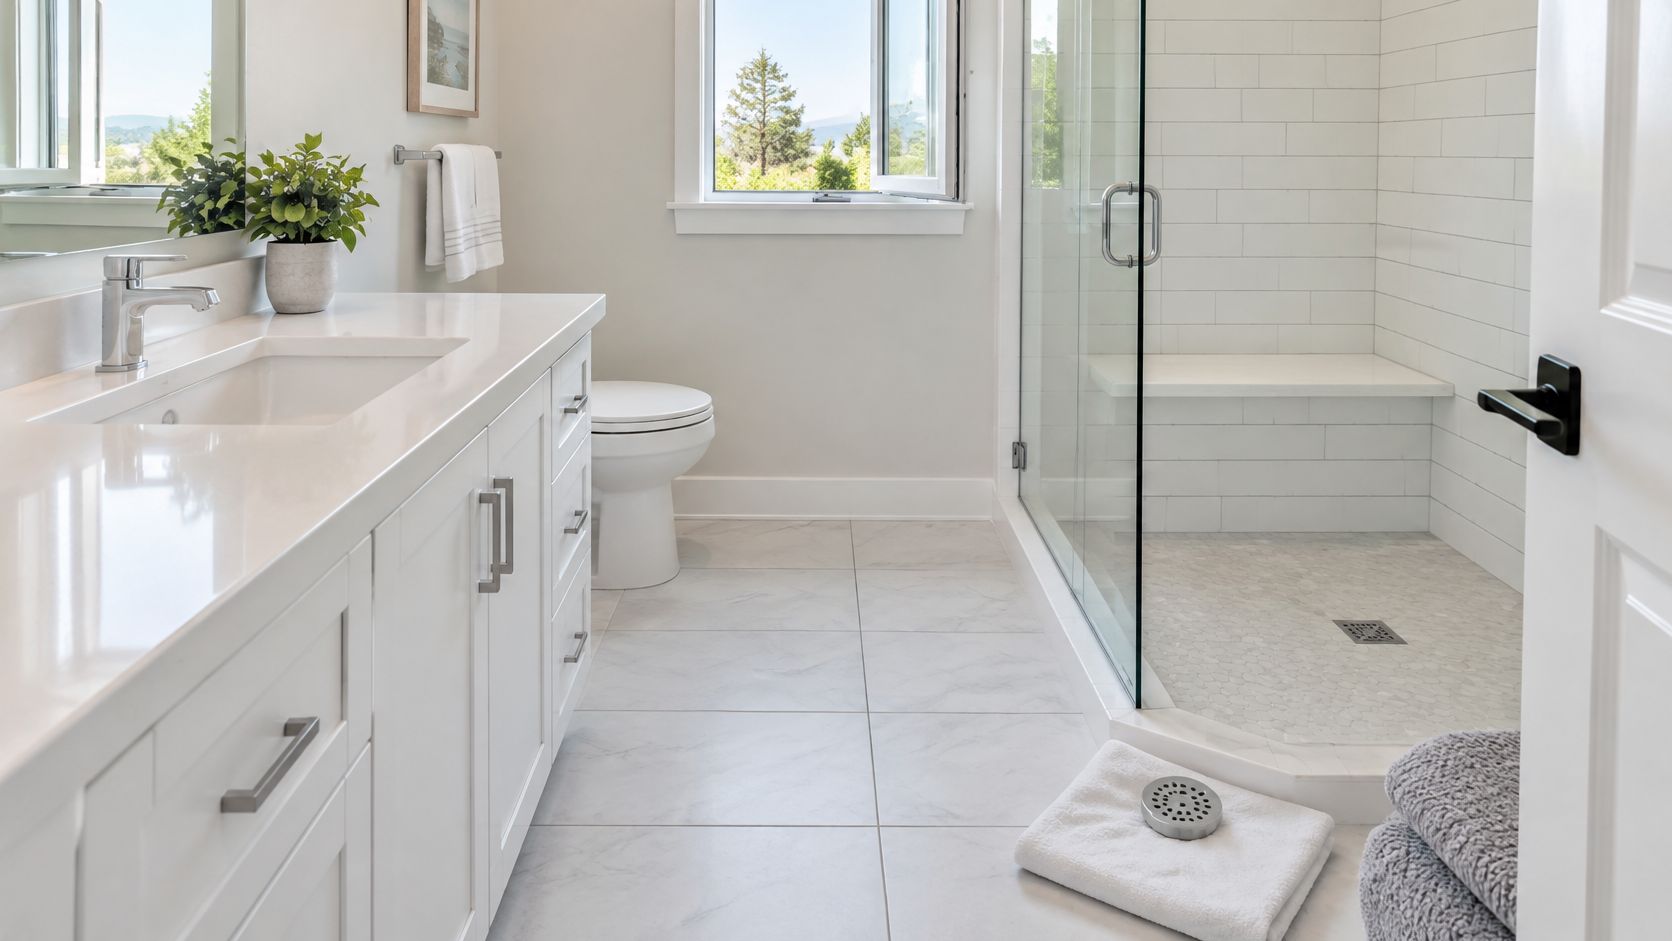
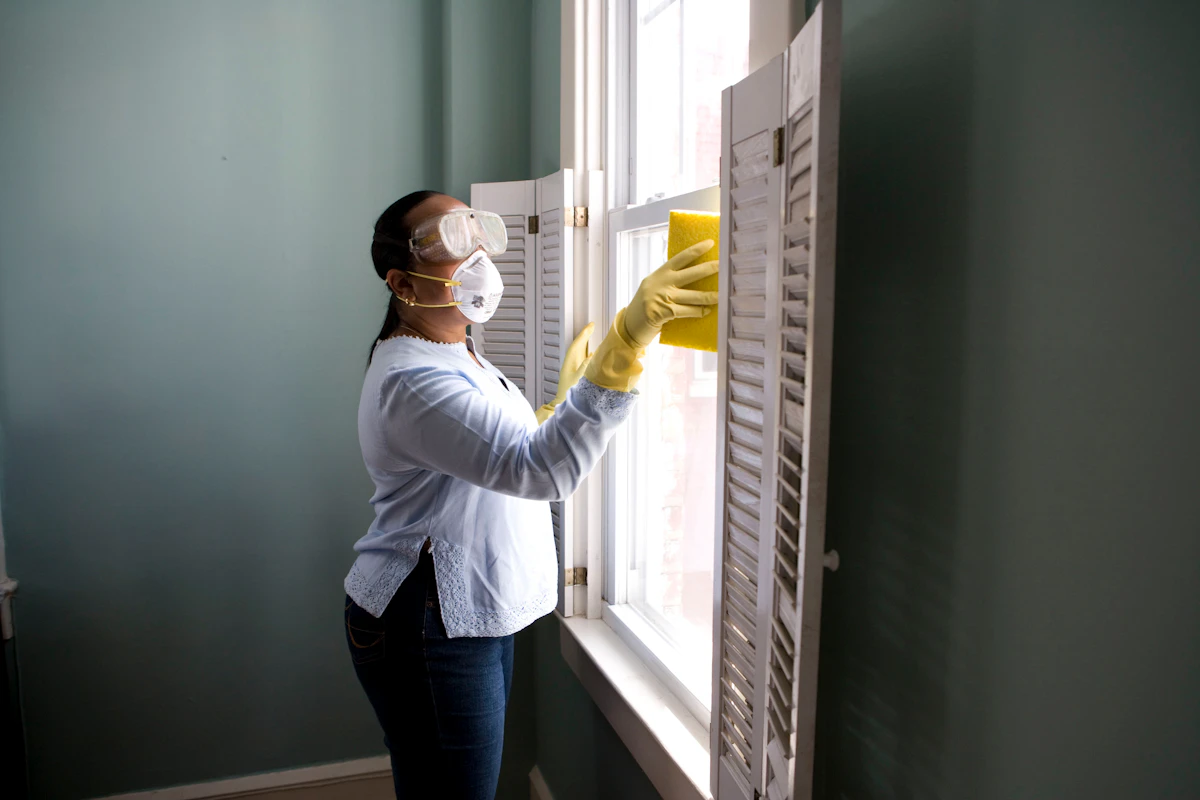
Pull everything off the counters, the shower ledge, and the floor. That means bath mats, shampoo bottles, razors, toothbrushes, and the hair caught in the drain. Open a window and run the exhaust fan. Wear gloves. Bathroom products release fumes in a small room, and you will be in there long enough for that to matter.
<a id="what-goes-in-the-caddy"></a>
What goes in the caddy
Set the kit in one spot so you are not walking wet feet across the house mid-job.
- Detergent: A bathroom cleaner or a mild dish detergent and water for the wash step.
- Mechanical tools: A stiff nylon grout brush, a non-scratch pad, and a squeegee.
- Mineral film: A descaler, kept in a different spot from any bleach product.
- Control tools: A timer, a bucket, and color-coded microfiber so the toilet cloth never meets the sink.
The CDC's cleaning and disinfecting guidance separates two jobs. Cleaning removes dirt and most germs. Disinfecting kills germs that remain, and dirt reduces how well a disinfectant works. You wash first. You disinfect only where it is needed, which the next section sorts by surface.
Never mix products. Bleach plus ammonia, or bleach plus an acid descaler, can release dangerous fumes. Store the descaler away from bleach, and do not pour one into a bottle that still holds the other.
If you are building a kit you will reuse, this house cleaning supplies list covers what belongs in a caddy versus what you can skip. Wet the surfaces, follow the order above, and leave the door open so the room starts drying while you work.
<a id="when-disinfection-is-actually-needed"></a>
When Disinfection Is Actually Needed
Most bathrooms need cleaning every time and disinfection only on high-touch surfaces, after illness, or when someone at higher risk uses the room. Spraying the whole space and wiping it dry in seconds wastes product and does not meet the label.
The U.S. Environmental Protection Agency defines contact time as the period a treated surface must stay visibly wet. If the label says 10 minutes, the surface stays wet for at least 10 minutes. Reapply if it dries sooner. Registered labels vary a lot. One multipurpose disinfectant needs 3 minutes for specified sanitizing claims and 10 minutes for certain hard-surface disinfection claims. Another bathroom cleaner label requires 10 minutes before wiping. A public-facility bathroom fact sheet notes that sanitizing typically reduces bacteria by about 99.9 percent, and only after proper cleaning plus the full contact time.
| Surface | Clean first with | Disinfect when | Keep visibly wet |
| --- | --- | --- | --- |
| Toilet handle and flush lever | Detergent and water | Routinely in shared bathrooms | Per label, often 3 to 10 min |
| Faucets and sink handles | Detergent and water | Routinely, high-touch | Per label, often 3 to 10 min |
| Light switches and door handles | Detergent and water | Routinely, high-touch | Per label, often 3 to 10 min |
| Tub and shower walls | Detergent and descaler | Mold present or illness at home | Per label, often 10 min before wiping |
| Toilet bowl interior | Bowl cleaner | After illness in the home | Per label, often 10 min |
| Grout and caulk | Scrub, then dry | Visible mold only, use a mildew product | Per label; porous, so cleaning matters more |
| Floors | Detergent mop | Only after vomiting, diarrhea or spills of waste | Per label, often 10 min |
<a id="where-the-label-actually-applies"></a>
Where the label actually applies
Read the bottle in your hand. "Often 3 to 10 minutes" is a range across products, not permission to guess. Cover the whole surface, start a timer, and do not wipe early.
Grout is the caveat. It is porous. A wipe does not reliably disinfect it. Scrubbing, rinsing, and drying do more for grout than a mist that beads up and vanishes. Use a mildew product only where you can see growth, and still follow that label's wet time.
Tub walls get detergent and a descaler on a normal deep clean. Disinfect them when mold is present or someone at home has been ill. Floors get a disinfectant mop only after vomit, diarrhea, or a waste spill. Everyday floor film is a detergent job.
If the surface is dry before the timer ends, you did not disinfect it.
<a id="how-to-clean-the-shower-tub-and-grout"></a>
How to Clean the Shower, Tub and Grout
This zone eats the hour. Soap scum and mineral scale sit in layers, and grout holds soil in its pores. Rush the dwell time and you will scrub twice.
<a id="the-wash-from-the-top-down"></a>
The wash, from the top down
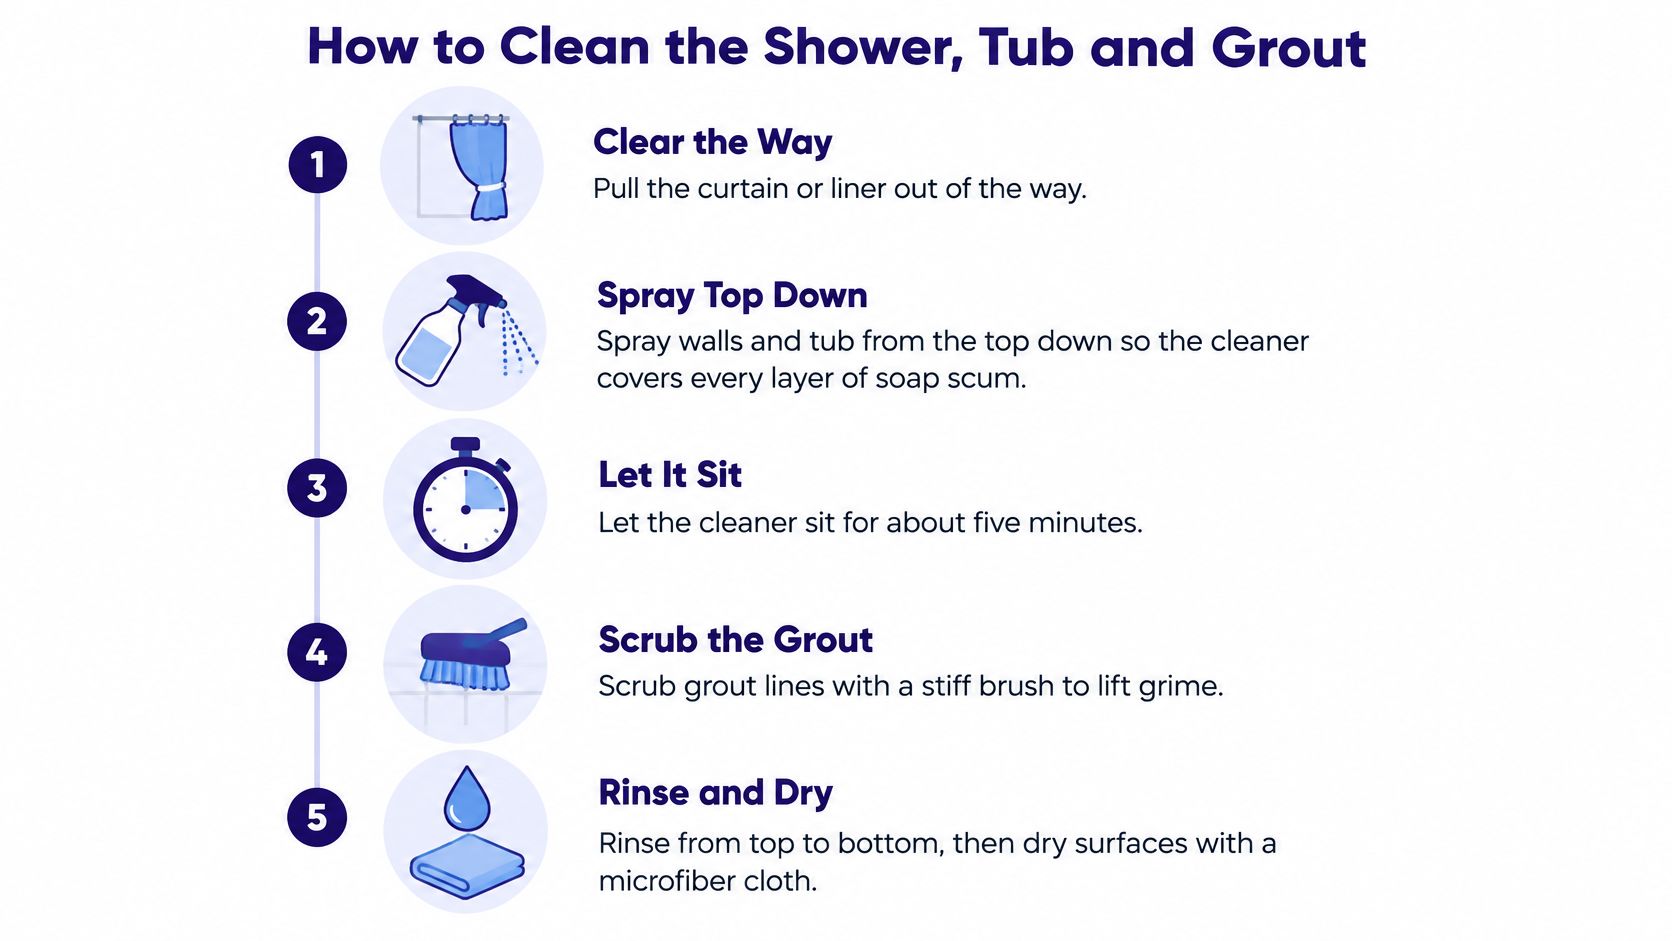
1. Pull the curtain or liner fully aside. Cleaner cannot reach tile that fabric is covering, and a wet liner drips dirty water back onto the wall you just rinsed.
2. Spray walls and the tub from the top down. The liquid runs over every layer of soap scum. Spraying only the stains leaves a clean patch inside a dull ring.
3. Let the cleaner sit about five minutes while you dust a vent or clear the counter. Do not let it dry. Dried cleaner becomes a new film.
4. Scrub tile and grout with a stiff nylon brush in short strokes. Grout is porous, so a soft cloth only polishes the dirt. The common miss is scrubbing the tile face and skipping the joint.
5. For hard-water scale, apply a descaler and wait the time on that label, then scrub. Test a small spot first. Descalers can etch natural stone, marble, and some glazed tile.
6. Work soap scum on the tub and walls with a non-scratch pad. A green abrasive pad on acrylic or fiberglass leaves scratches that hold the next film.
7. Rinse from the top down, squeegee the walls, and dry the tub. Leaving rinse water is how mineral spots return overnight.
<a id="stains-hardware-and-fabric"></a>
Stains, hardware, and fabric
8. For grout that brushing will not lift, make a paste of baking soda and hydrogen peroxide, leave it 10 to 15 minutes, scrub, and rinse. Do not mix peroxide with vinegar. If black mildew sits in silicone caulk, test a bleach-based mildew product on a small area. When the stain runs through the bead, replace the caulk. Scrubbing it again only roughens the surface.
9. Soak the shower head in descaler for the label time, wipe the face, and run water through the holes. Clear hair from the drain with a drain tool before the final rinse, or the dirty water sits in the tub you just dried.
10. Wash a fabric curtain or liner in the machine on a gentle cycle. Scrubbing it on the rod smears mildew and wastes the time you spent on the tile. Shake bath mats before they go back down.
A short walk-through of the scrub itself helps if you want to see the brush angle on grout before you start.
<iframe width="100%" style="aspect-ratio: 16 / 9;" src="https://www.youtube.com/embed/_db1JpaAjJY" frameborder="0" allow="autoplay; encrypted-media" allowfullscreen></iframe>
<a id="how-to-clean-the-toilet-sink-and-mirrors"></a>
How to Clean the Toilet, Sink and Mirrors
The cloth rule starts here and does not bend. The sink cloth stays on the sink. The toilet cloth stays on the toilet. If you finish the toilet and still need the basin, you switch cloths.
<a id="sink-and-glass-first"></a>
Sink and glass first
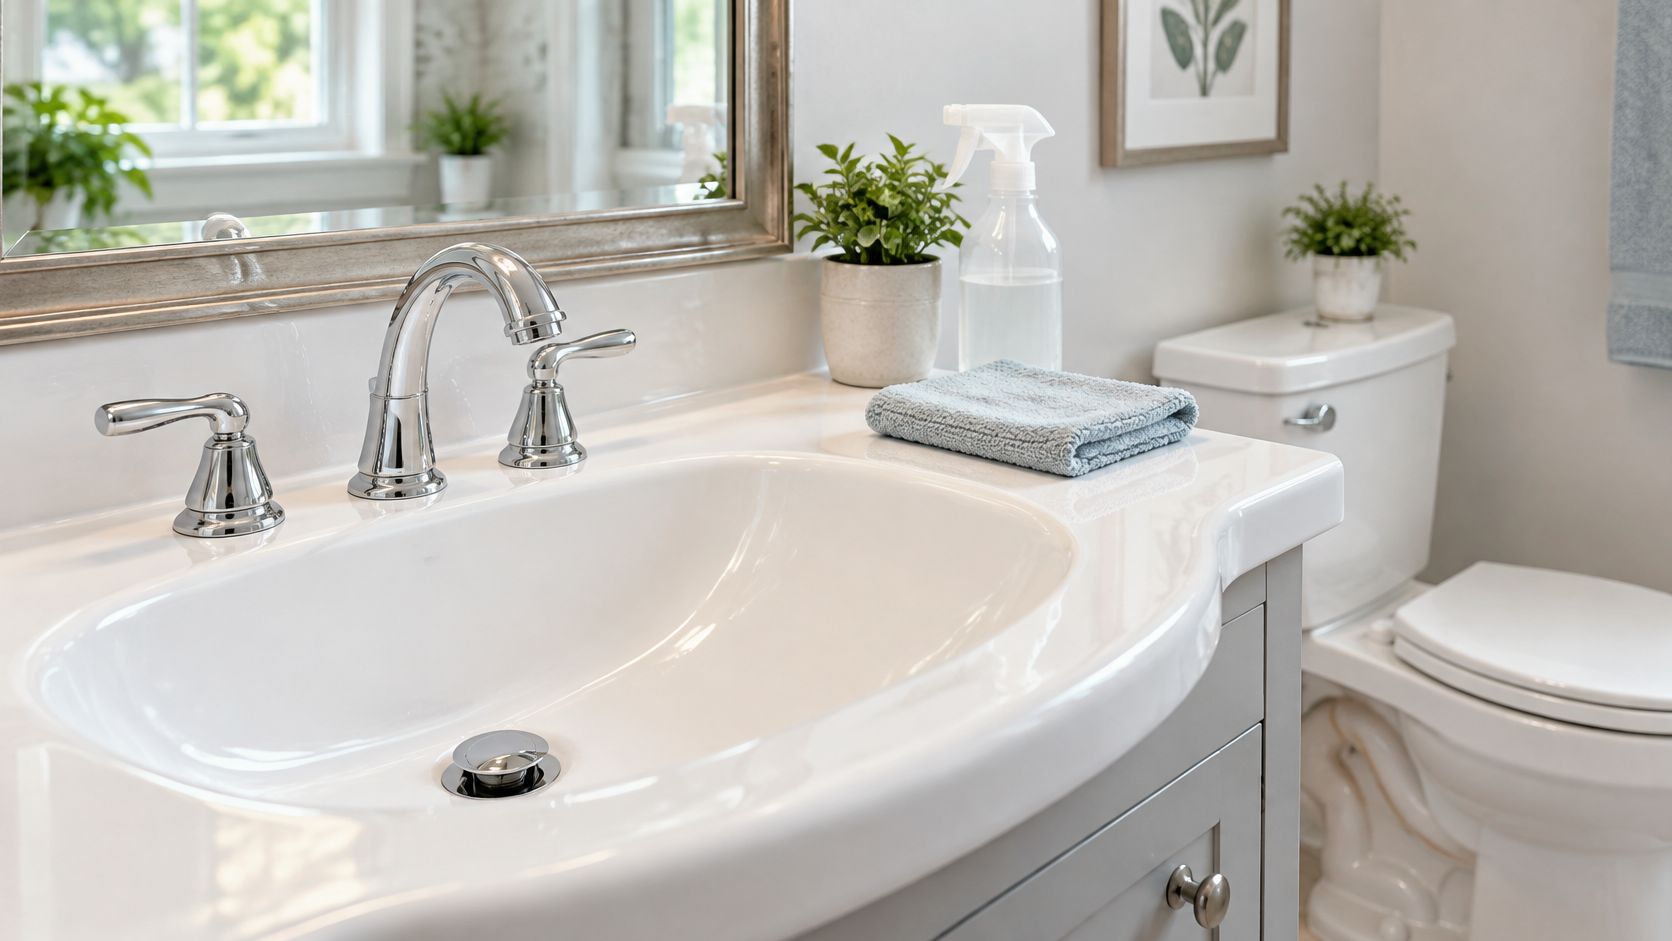
1. Wash the basin, the faucet base, the handles, the drain stopper, and the aerator at the tip of the spout. Mineral scale collects in that screen and cuts the flow. Unscrew it if it turns by hand, soak it in descaler, and rinse before it goes back on.
2. Wipe the vanity and the counter with the sink cloth only. Bottle rings and toothpaste crust sit at the back edge, which a center wipe misses.
3. Clean the mirror last among the upper surfaces. Use a glass cleaner and a dry lint-free cloth. A damp microfiber leaves streaks, and spraying the glass until it runs sends cleaner down onto the faucet you just dried.
<a id="toilet-then-the-floor-out-the-door"></a>
Toilet, then the floor out the door
4. Flush with the lid up, apply bowl cleaner under the rim, and brush the bowl and the rim. Let it sit for the time that label states while you wipe other toilet parts. Brushing immediately, then flushing, throws away the dwell.
5. With the toilet-only cloth, wipe both sides of the seat, the hinges, the tank lid, the handle, and the base where it meets the floor. The base is where hair and urine splash collect, and it is the spot most quick cleans skip.
6. Mop last. Start in the far corner and work toward the door so you do not walk back across clean tile. A dripping mop leaves water in the grout, which is the opposite of what you want after a deep clean.
7. Empty the trash, rinse the bucket, and wash the toilet cloth in hot water before it is used again. Do not drape it over the sink to dry.
A toilet cloth that "looks clean enough" for the faucet is how a deep clean undoes itself in the last five minutes.
<a id="set-a-post-clean-routine-and-decide-when-to-hire-help"></a>
Set a Post-Clean Routine and Decide When to Hire Help
Mildew comes back because water stays, not because the scrub was weak. Cleveland Clinic guidance on mold ties bathroom growth to humid, poorly ventilated spots and recommends keeping indoor humidity below 50%, running exhaust fans, and drying wet areas promptly. The whole cleaning order above assumes surfaces end dry. Standing water restarts the growth, and a surface that never fully dries also cuts short the contact time any disinfectant needs on the next pass.
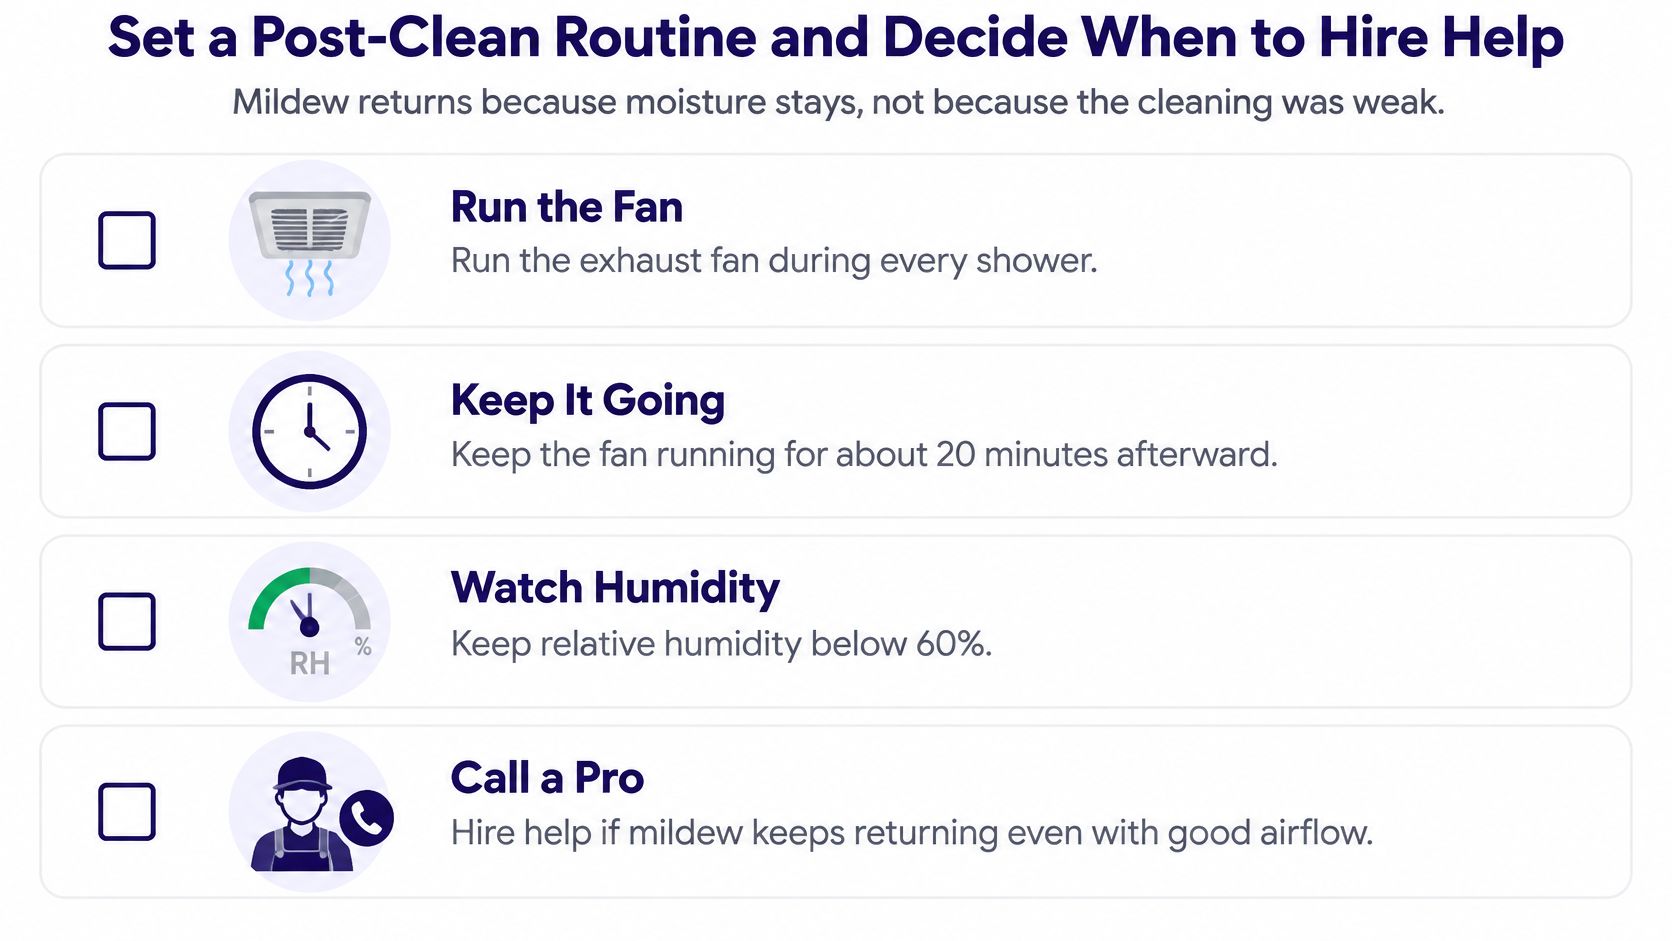
In a humid climate a bathroom can look spotless at noon and show a film by the next morning if the fan is weak or the air never moves. Bleach on the same caulk line hides the stain. It does not fix the moisture.
<a id="checks-you-can-do-this-week"></a>
Checks you can do this week
| Check | Target | If it fails |
| --- | --- | --- |
| Fan run time | On during the shower, stays on until steam clears | Add a timer switch or run it longer |
| Relative humidity | At or under the level the guidance linked above recommends | Improve ventilation or replace a weak fan |
| Shower ledges and walls | No standing water after use | Squeegee after each shower |
| Caulk and grout | No regrowth within weeks of cleaning | Re-caulk; if it returns, find the moisture source |
| Fan performance | Clears steam while it runs | Repair, replace, or vent it correctly |
Buy an inexpensive hygrometer and leave it in the room. After a shower, watch whether the mirror un-fogs while the fan is still running. Spread the curtain open, squeegee the walls, and leave the door ajar when it is safe to do so. If black growth returns in the caulk within weeks, stop bleaching it and look for the water source.
<a id="when-the-fan-or-the-mold-is-past-a-cloth"></a>
When the fan or the mold is past a cloth
Fix the fan before you book another deep clean if it is weak, noisy, missing, or dumping air into the attic. Surface mildew on tile is a cleaning problem. Growth inside drywall, a soft ceiling, or a stain that spreads after every shower needs a moisture repair, and no amount of scrubbing closes that gap.
For a home that has not been professionally cleaned in over 30 days, a deep clean is the right reset. Our Deep Cleaning checklist is customized to each home and covers living spaces, kitchen, bathrooms, and bedrooms. It starts at $490 as a one-time service, with the exact flat rate based on square footage, bedroom and bathroom count, and any add-ons you select. If grout and scale are the main complaint, the Seasonal Deep Clean Bundle is the package that includes a complete bathroom grout scrub and descaling. See what the deep cleaning service covers if the buildup is past a single Saturday.
---
J&M Cleaning Team arrives with commercial-grade vacuums, fresh microfiber mop heads, and safe sanitizing supplies, so you do not need to stock equipment or chemicals. If the sequence above is more time than you have, or the mildew keeps returning in a humid house, we can reset the room and set a weekly or biweekly recurring visit so it does not slide back. Get a flat-rate quote at J&M Cleaning Team.